

How to Install a Backsplash
How to Install a Backsplash: Step-by-Step Guide
A new backsplash can transform your kitchen without a full remodel. The right tile protects your walls from grease and splashes while tying your countertops, cabinets, and flooring into a cohesive, finished look. This guide explains how to install a backsplash, avoid common mistakes, and maintain your backsplash for years to come.
Watch: How to Install a Backsplash in One Day
This Home Outlet video walks you through a complete backsplash installation from start to finish—covering wall prep, tile layout, setting tiles with adhesive, and finishing with grout. Watch it before you pick up your trowel for a clear picture of what to expect.

Tools and Materials You’ll Need
A successful installation requires the correct supplies. Gather these items before starting:
• Backsplash tile (ceramic, porcelain, or glass)
• Tile adhesive (mastic or thin-set mortar)
• Notched trowel (typically 1/4-inch by 1/4-inch)
• Tile spacers
• Tile cutter or wet saw
• Sanded or unsanded grout
• Grout float and sponges
• Grout sealer
Preparing Your Space for Backsplash Installation
Good prep work makes backsplash installation easier and helps the finished project look more professional. Here’s what to do.
Cleaning and Prepping the Wall
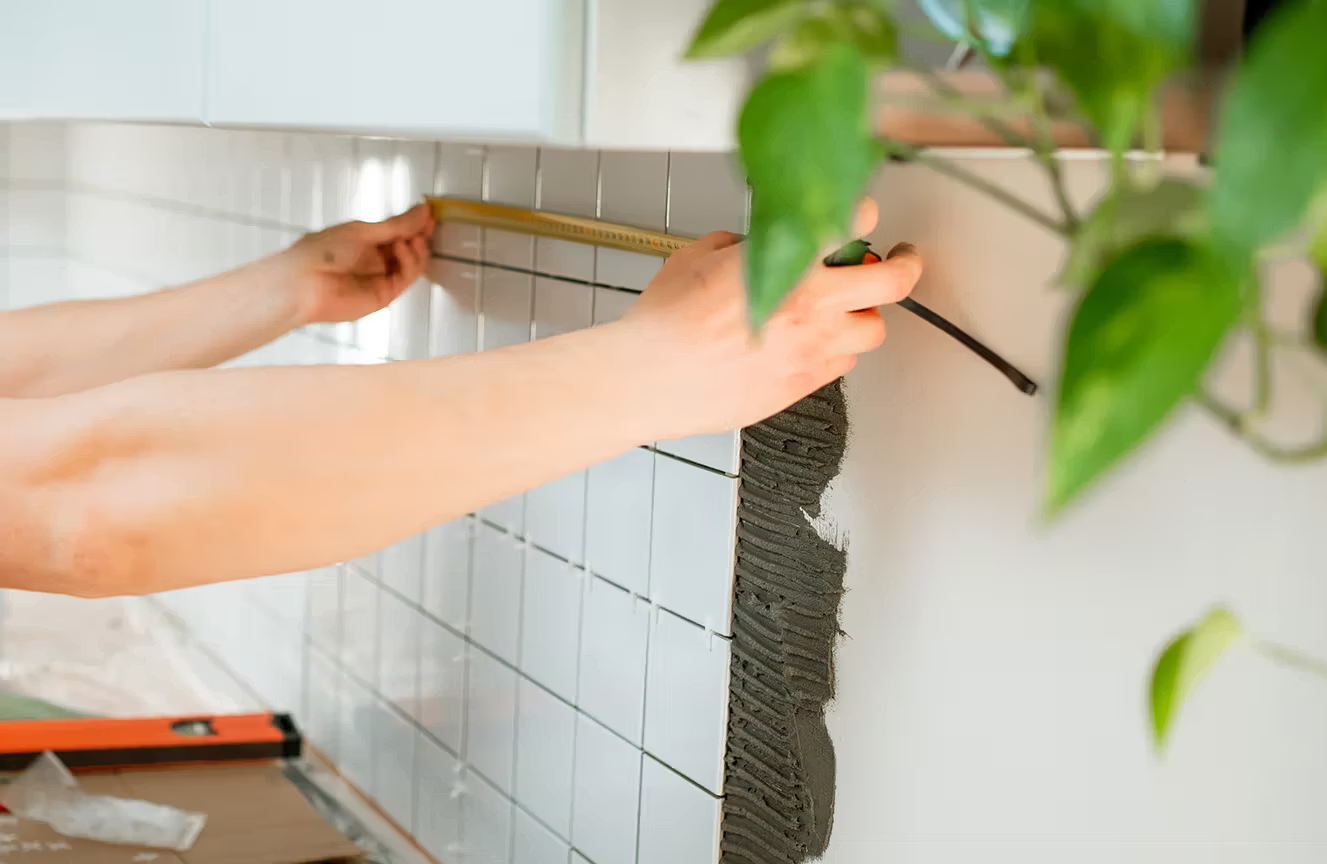
Your adhesive needs a clean, smooth surface to bond correctly. Wipe down the drywall with a mild degreaser to remove cooking residue. Lightly sand glossy paint to improve the adhesive's grip.
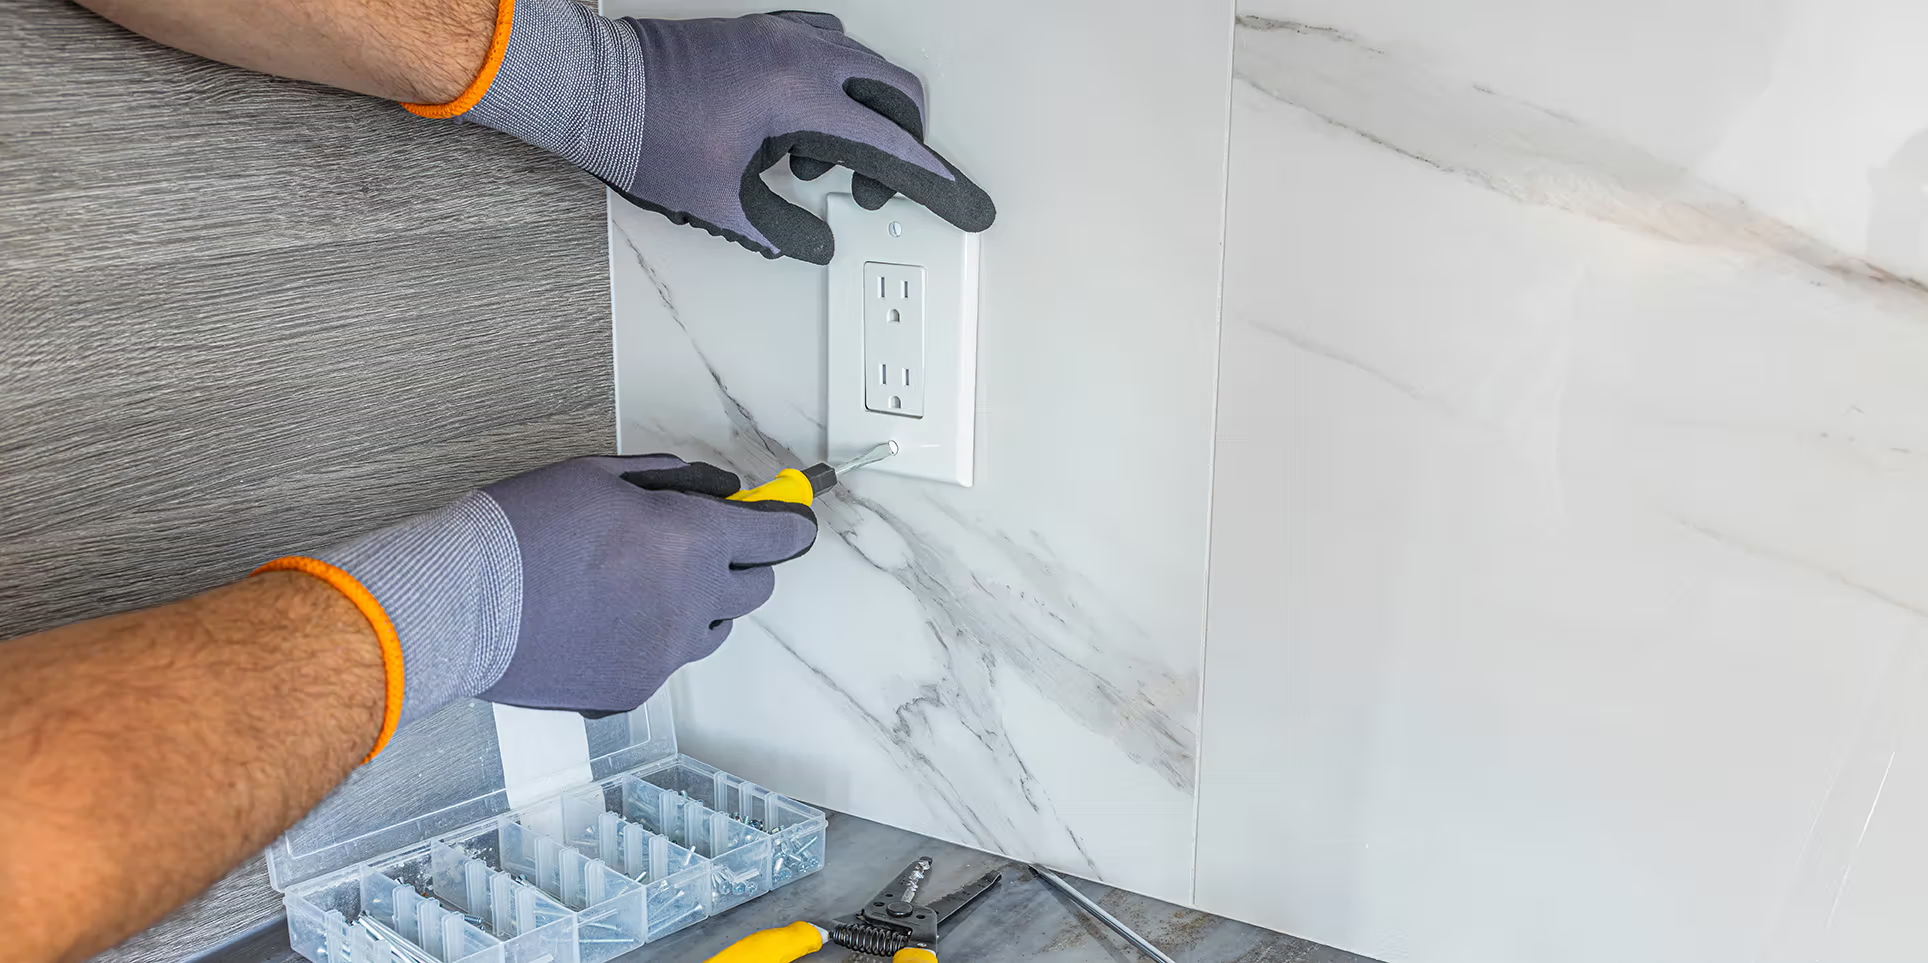
Before working near outlets or switches, turn off the power at the breaker and confirm that the power is off with a voltage tester, then remove the cover plates.
Measuring and Planning Layout
Measure the square footage of your wall space and add 10% to account for cuts and waste. Mark the center of your wall to establish a starting point. This ensures your tiles look symmetrical around focal points like the stove or sink. Use a level to extend vertical and horizontal reference lines so your layout stays straight as you work.
Choosing the Right Tile and Materials
Ceramic and porcelain tiles are durable, low-maintenance options well-suited to most kitchens. Sheet-mounted mosaic tiles are especially beginner-friendly. Tiles come pre-spaced on a mesh backing, making it easier to maintain consistent grout lines without handling individual pieces.
Read our tips on backsplash installation and trendy materials for more guidance on selecting durable materials that fit your style.
How to Install a Backsplash
Follow the steps below to install your backsplash.
Step 1: Mark Guidelines and Layout
Use a level to draw a straight horizontal reference line across the wall. Dry-fit your tiles along the counter to visualize the pattern and identify where specific cuts will be necessary.
Step 2: Apply Adhesive
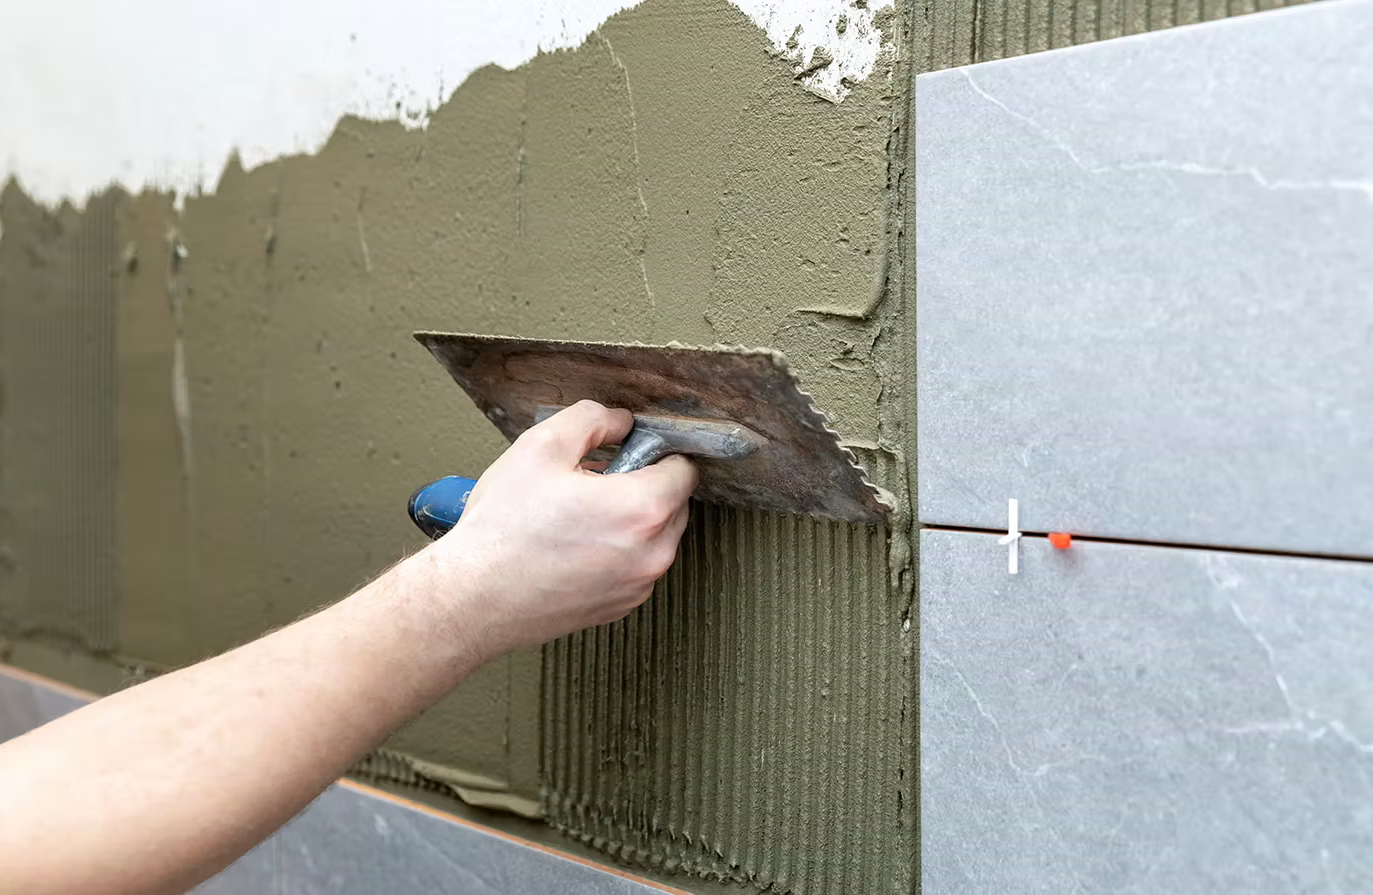
Scoop your adhesive onto the wall using the flat side of your trowel. Use the notched edge to create horizontal ridges. Only apply enough adhesive for a 2-foot section so it doesn’t dry out before you place the tiles.
Step 3: Install Tiles
Press each tile firmly into the adhesive with a slight twisting motion to collapse the ridges. Insert tile spacers between each piece to keep your grout lines straight and consistent. Check your tiles frequently with a level and adjust as needed to keep your rows straight.
Step 4: Cut Tiles for Edges and Outlets
Measure the gaps around outlets, light switches, and cabinets. Use a manual tile cutter for straight ceramic cuts, or a wet saw for glass and natural stone to prevent chipping.
Step 5: Apply Grout and Clean Surface
Let the adhesive cure for about 24 hours. Mix your grout, then apply it diagonally across the tiles with a rubber float, pressing it deeply into the joints. Wipe the surface with a damp sponge to remove the excess grout haze. After the grout has cured fully, buff away any remaining light haze with a soft cloth.
Common Mistakes to Avoid
Be sure to avoid these common mistakes when installing your backsplash.
• Skipping wall prep: Greasy or dusty surfaces won't hold adhesive properly.
• Rushing the layout: Always dry-fit tiles before committing to adhesive.
• Applying too much adhesive: Thick, uneven coverage throws off tile alignment.
• Not checking alignment: Use your level often because small errors compound quickly.
• Grouting too soon: Wait the full cure time before grouting to prevent cracking.
• Ignoring electrical safety: Always shut off power, test circuits, and use box extenders so outlets and switches sit flush with the finished tile.
How to Maintain Your Backsplash
Here are some ways you can maintain your backsplash to keep it looking and performing at its best.

• Wipe down tile regularly with a non-acidic cleaner and a damp cloth, especially after cooking.
• Avoid abrasive scrubbers, which can scratch tile and wear down grout over time.
• Apply grout sealer after the grout has fully cured, then reapply periodically according to the sealer manufacturer’s instructions or whenever water no longer beads on the grout lines.
Find the Right Materials for Your Project
Find the Right Materials for Your Ready to get started? Home Outlet carries a wide selection of backsplash tile, adhesives, grout, and installation tools to help you complete your project with confidence, all at the Guaranteed Lowest Price.
