

How To Install A Pull-Out Faucet
How to Install a Pull-Out Faucet: Step-by-Step Guide
A pull-out faucet is one of the most impactful kitchen upgrades you can tackle yourself. If you've been looking to learn how to install a faucet in the kitchen, you're in the right place.
This step-by-step guide walks you through the full process, from prep to final leak test, so you can tackle the project with confidence.
Watch: How to Install a Pull-Out Faucet
Before you pick up a wrench, check out this quick video guide from Home Outlet. It covers removing your old faucet, installing the new one, making the waterline connections, and testing everything before you call it done.
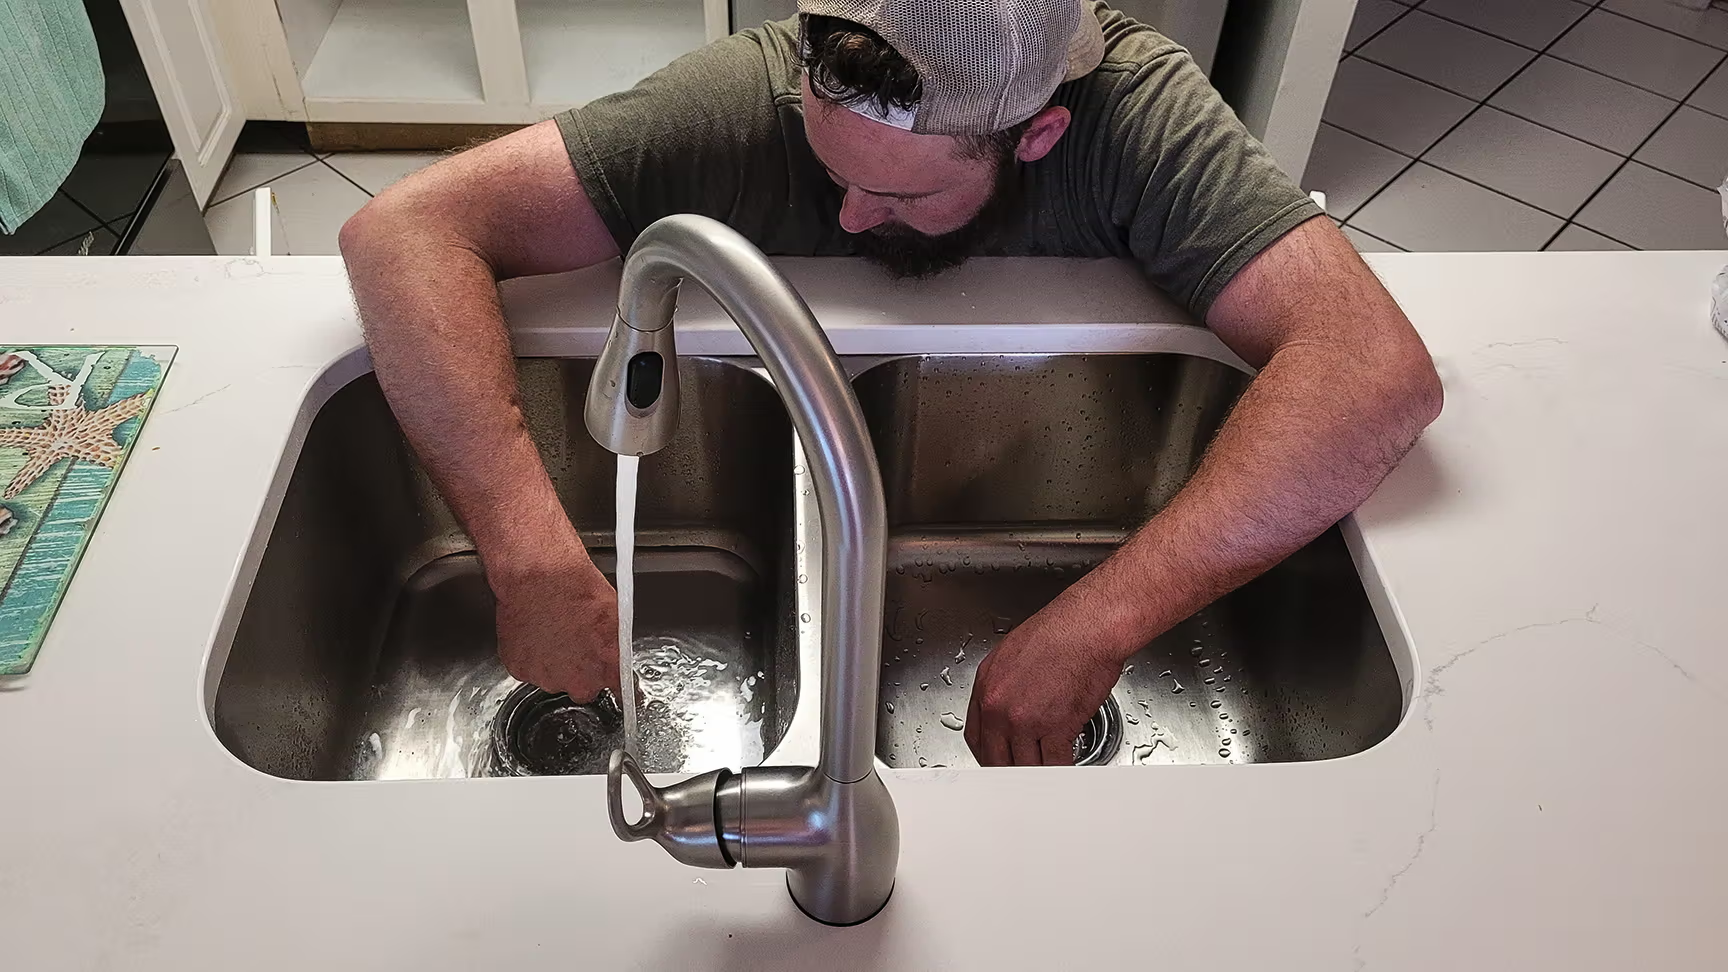
Tools:
• Adjustable wrench
• Basin wrench (for hard-to-reach mounting nuts)
• Pliers
• Bucket or shallow pan
• Old towels or rags
• Flashlight or headlamp
• Safety glasses
• Plumber's tape (Teflon tape)
Materials:
• New pull-out kitchen faucet (with all included hardware)
• Flexible supply lines (if not included with your faucet)
• Plumber's putty or silicone sealant (check your faucet's instructions)
• Most pull-out faucets come with supply lines and mounting hardware included, but double-check the box before you begin.
Preparing for Faucet Installation
Before you install your new faucet, take a few simple steps to prepare the sink area.
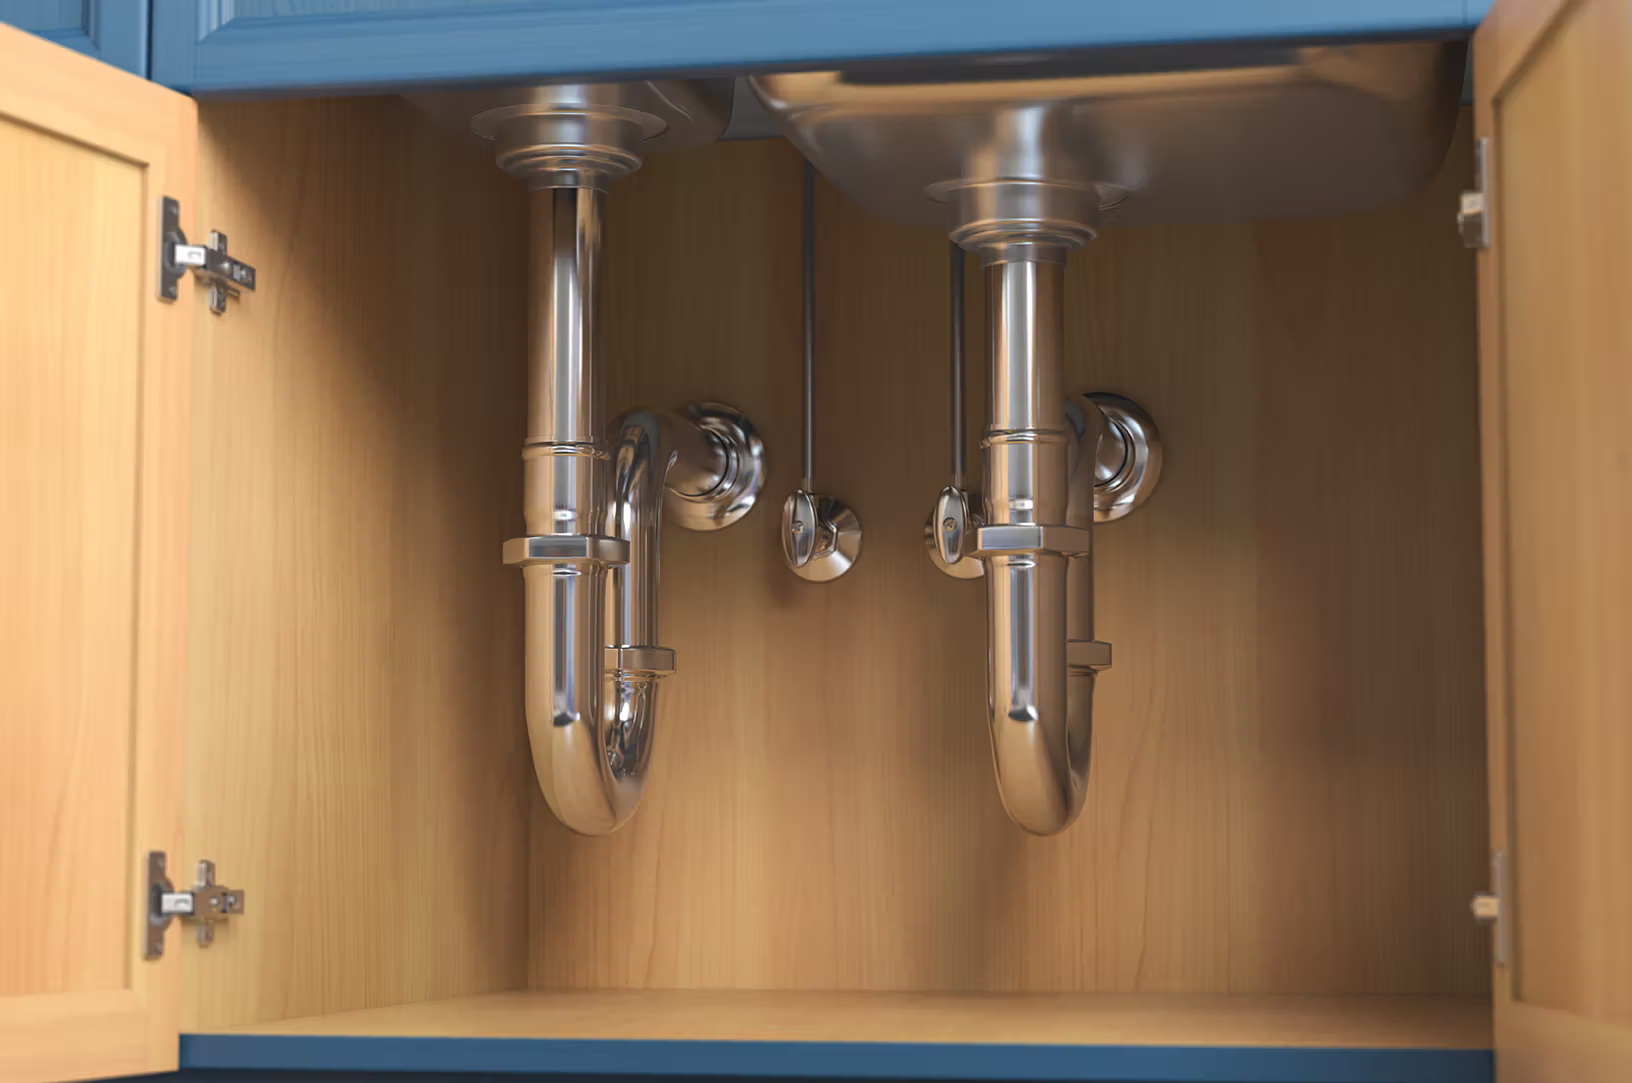
Turning Off Water Supply
Locate the hot and cold shut-off valves under the sink. They're typically on the cabinet's back wall. Turn both clockwise until they stop. Once the valves are closed, open the faucet handle to release any pressure remaining in the lines. Have your bucket ready because some water may drain out. If your sink doesn't have individual shut-off valves, you'll need to turn off the main water supply to the house.
Removing the Old Faucet
With the water off, use an adjustable wrench to disconnect the supply lines from the shut-off valves. Turn the nuts counterclockwise to loosen them. Hold the water pipe steady as you work to avoid stressing the connections behind the wall.
Next, use a basin wrench to remove the mounting nut securing the faucet to the underside of the sink. Once the hardware is loose, lift the old faucet up and out from above. If it's stuck, gently wiggle it. Old caulk or putty can make it a little stubborn.
Cleaning the Sink Area
Before installing anything new, wipe down the sink deck. Remove old putty, mineral buildup, or debris around the mounting hole. A clean surface makes for a more secure fit and a better-looking finished result.
How to Install a Pull-Out Faucet
With the old faucet removed and the area cleaned, you're ready to install your new pull-out faucet. Work from above the sink for positioning, and from below for securing and connecting.
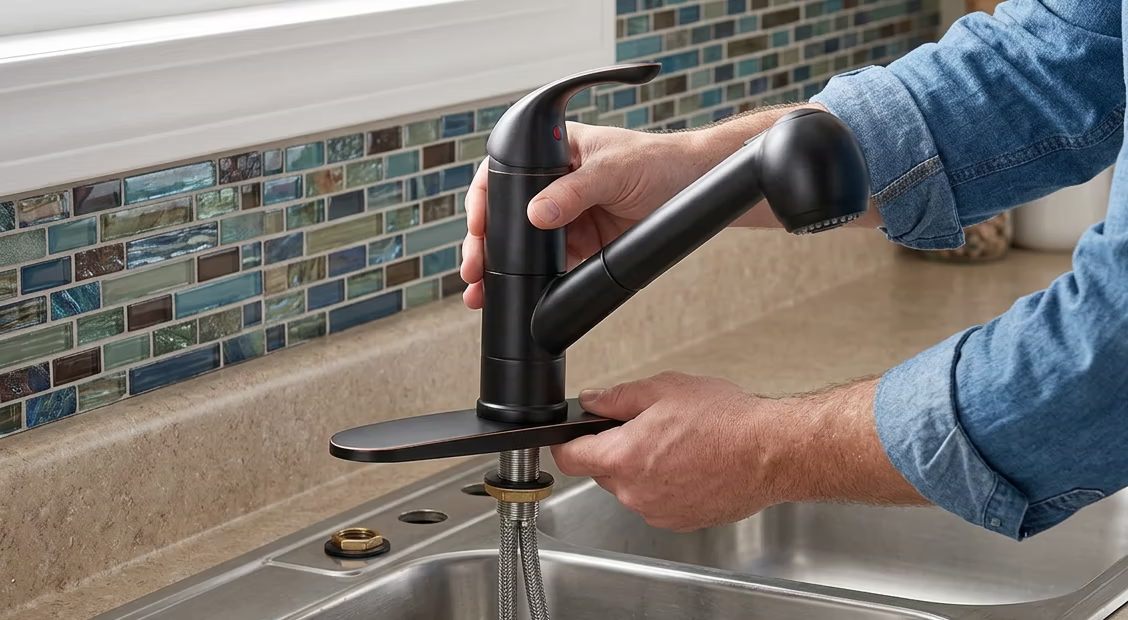
Step 1: Position the Faucet
Feed the pull-out hose and supply lines down through the faucet hole from above. If your faucet includes a deck plate or escutcheon (a cover plate for three-hole sinks), place it over the hole first. Set the faucet body into position and check that it's centered and aligned with the sink.
Step 2: Secure Mounting Hardware
Reach under the sink and thread the mounting nut onto the faucet shank by hand. Once it's snug, use a basin wrench to tighten it. You want it firm, but not overtightened. If possible, have a helper hold the faucet steady from above so it stays aligned while you work from below.
Step 3: Connect Water Lines
Wrap the threaded connections on the shut-off valves with plumber’s tape clockwise two to three times. Connect the hot supply line to the hot valve, and the cold supply line to the cold valve. Most faucets label these clearly. Hand-tighten the nuts first, then give each one a snug quarter-turn with your wrench. Don't force it because over-tightening can crack the fittings.
Step 4: Attach Pull-Out Hose
Thread the pull-out spray hose through the faucet body and connect it to the hose connection point underneath the sink. Many pull-out faucets use a quick-connect fitting, so just push until you hear a click. Others may require a threaded connection with pliers. Refer to the instructions included with your faucet to confirm the method. Some pull-out faucets include a counterweight for the hose. Attach it to the hose under the sink as directed. This helps the spray head retract smoothly after each use.
Step 5: Test for Leaks
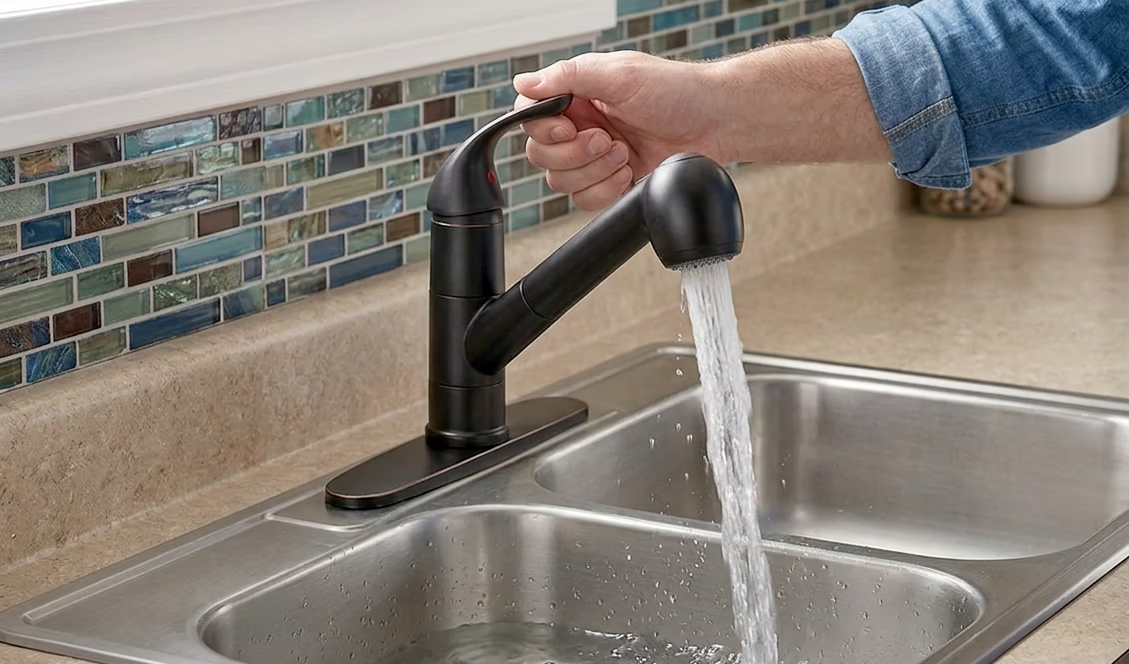
Turn the shut-off valves back on slowly by rotating them counterclockwise. Let the water pressure build, then check every connection point: the supply lines, the mounting area, and the hose attachment. Run the faucet for a full minute and watch for drips. If you spot a slow drip, snug up that connection slightly with your wrench. Once everything looks dry, you're done.
Tips for Proper Installation
Here are a few tips to keep in mind when installing pull-out faucets:
• Check your sink holes first: Most pull-out faucets need one pre-drilled hole. If you have a three-hole sink, you'll need a faucet with a deck plate, or you can fill the extra holes with sink hole covers.
• Don't skip the plumber’s tape: It creates a watertight seal on threaded connections. A couple of wraps is all it takes.
• Flush the lines after installation: Remove the aerator from the faucet tip, turn the water on full for about a minute, then replace it. This clears any debris from the lines.
• Keep a light and towel nearby: Working under the sink is easier with good visibility, and you'll always have a little residual water to wipe up.
• Read your faucet's manual: Specific models vary. Always follow the manufacturer's instructions for mounting hardware, sealant requirements, and hose connections.
Choosing the Right Faucet for Your Kitchen
Before purchasing, consider a few key factors:
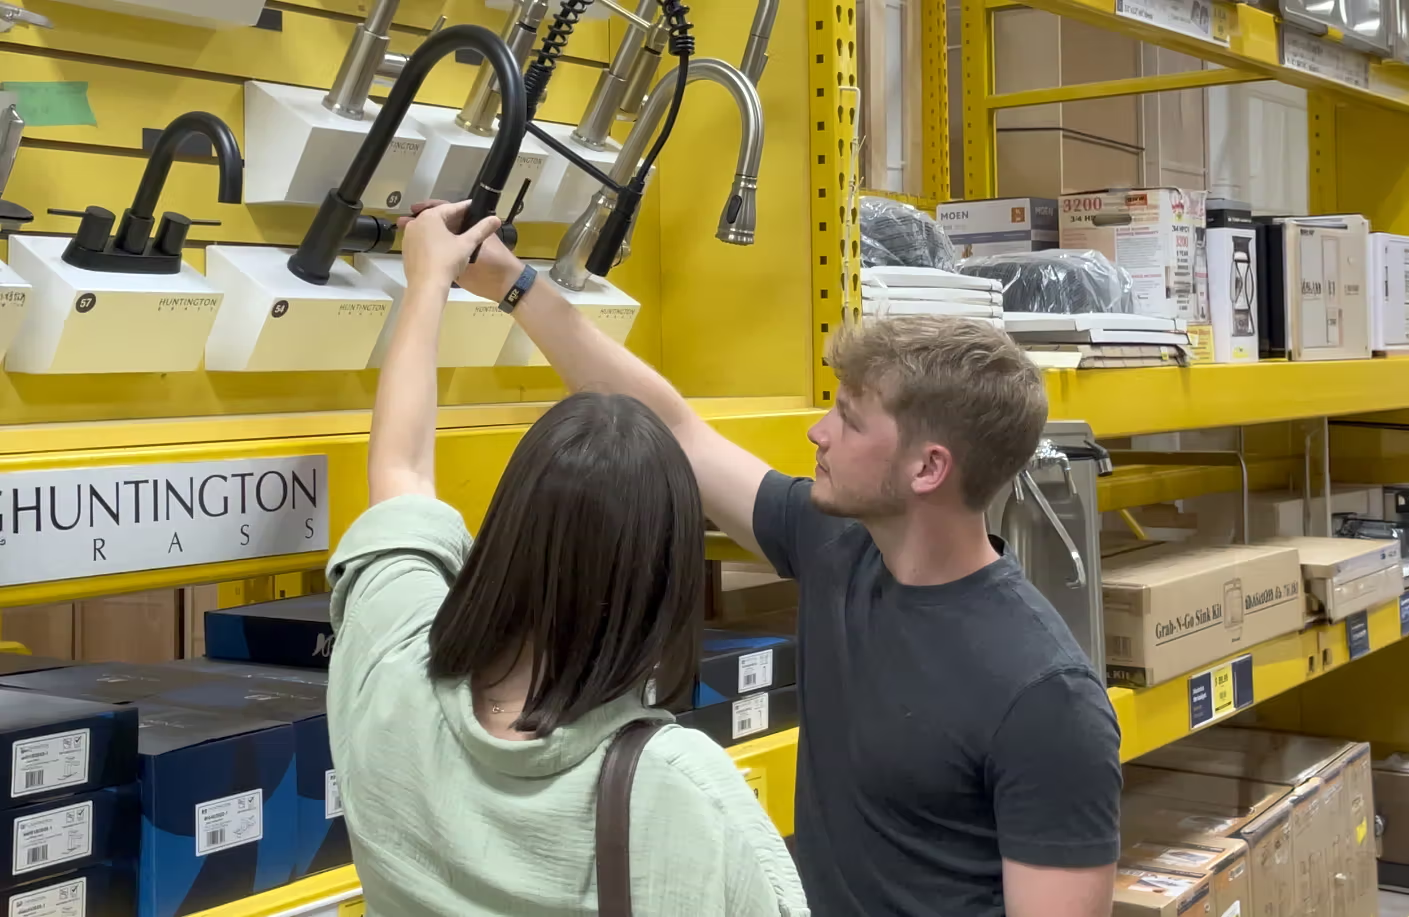
• Sink compatibility: Measure the number and spacing of the pre-drilled holes in your sink. Most pull-out faucets are designed for one- or three-hole installations.
• Spout height and reach: A higher arc gives you more room to fill large pots. A longer reach helps rinse the full sink basin.
• Finish: Match to your existing hardware. Brushed nickel, matte black, and chrome are popular choices that pair well with most kitchen styles.
• Spray modes: Most pull-out faucets offer at least two modes: stream and spray. Some include a pause feature, which is handy for rinsing produce.
Complete Your Kitchen Upgrade
A pull-out faucet is a smart, high-impact upgrade, and with the right prep, it's a project most homeowners can handle in an afternoon.
Browse Home Outlet's full selection of kitchen faucets and plumbing essentials to find the right fit for your kitchen at the Guaranteed Lowest Price.
