

How To Install Baseboard
How to Install Baseboard: Step-by-Step Guide
Few finishing touches do more for a room than a clean run of baseboard. It covers the gap between your wall and floor, hides rough edges, and pulls the whole space together. If you've laid new floors or are refreshing a room, learning how to install baseboard is a skill that pays off every time.
This guide walks you through each step, so you can get a result that looks clean and intentional.
Watch: How to Install Baseboard
Before you get started, check out Home Outlet's video guide on how to install baseboard. The video walks through the full process: measuring and cutting your trim, fitting pieces around corners, and nailing everything securely in place. It's a great complement to the steps below, especially if you're a visual learner.
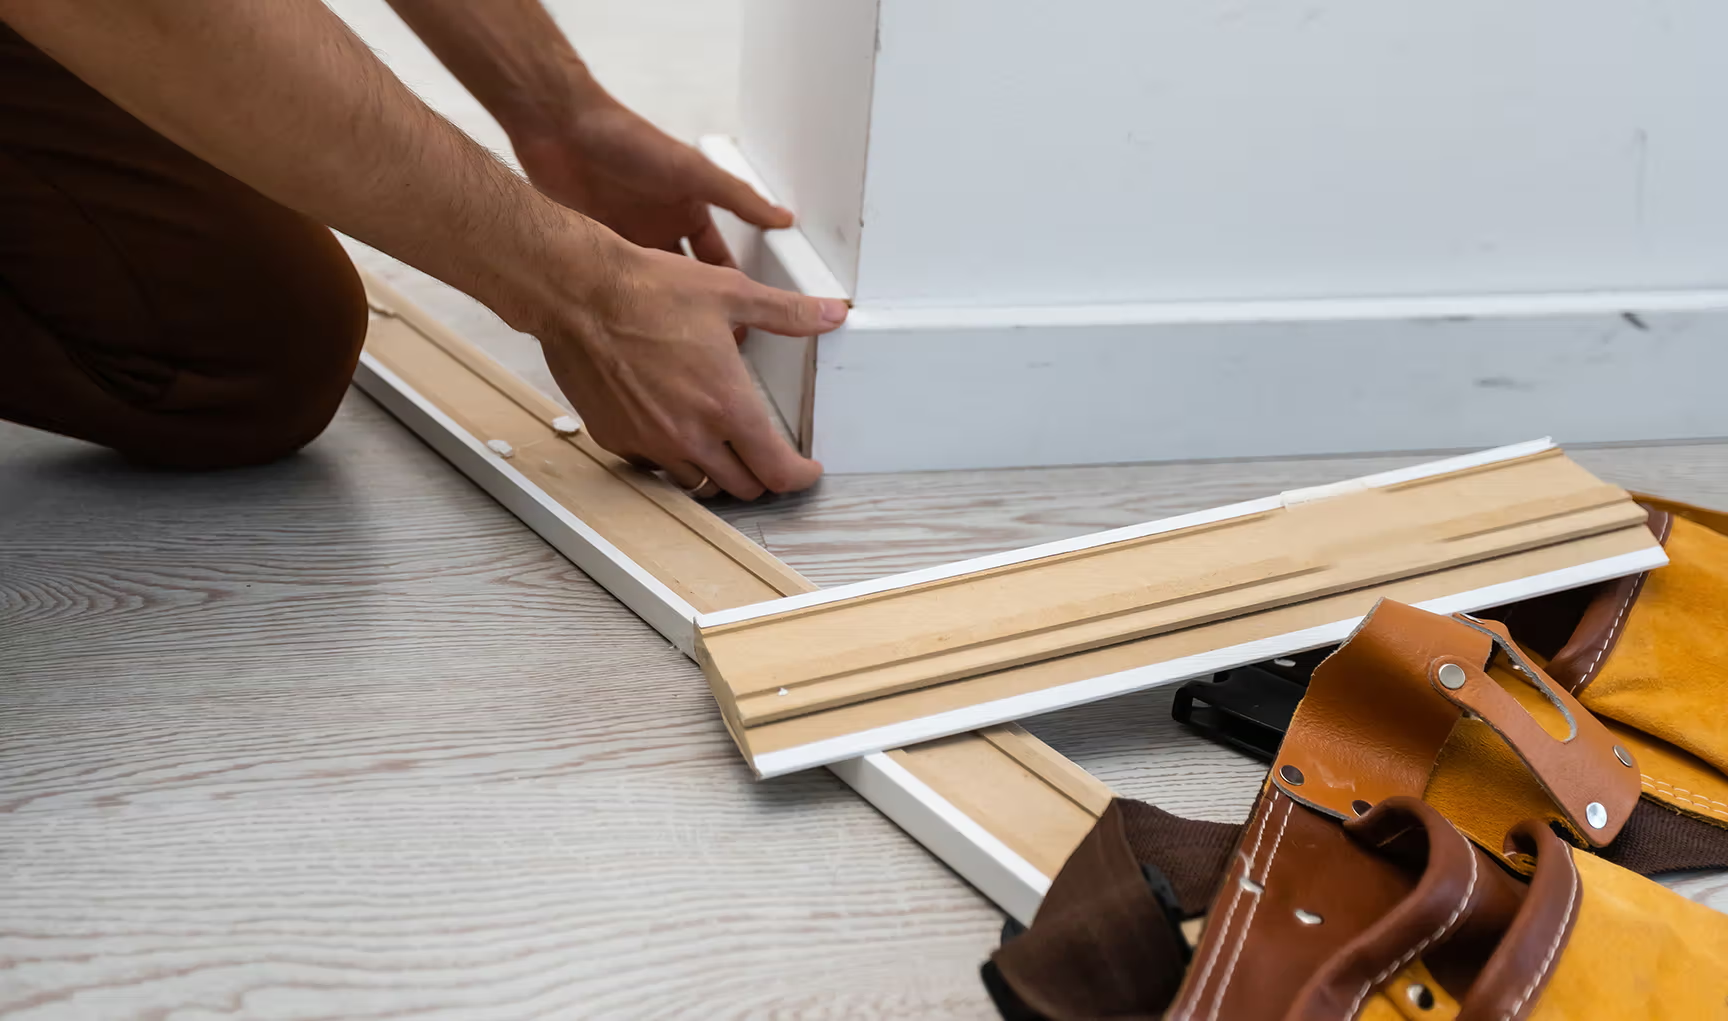
Tools and Materials You’ll Need
Gather these before you begin:
• Tape measure
• Miter saw (or miter box for hand cuts)
• Brad nailer (or finish nails and hammer)
• Stud finder
• Level
• Caulk gun and paintable caulk
• Wood filler
• Sandpaper
• Primer and paint (or stain)
• Baseboard trim and moulding
Preparing for Baseboard Installation
Before you start cutting or installing, take time to measure your space, choose the right baseboard style, and prep the area for a clean finish.
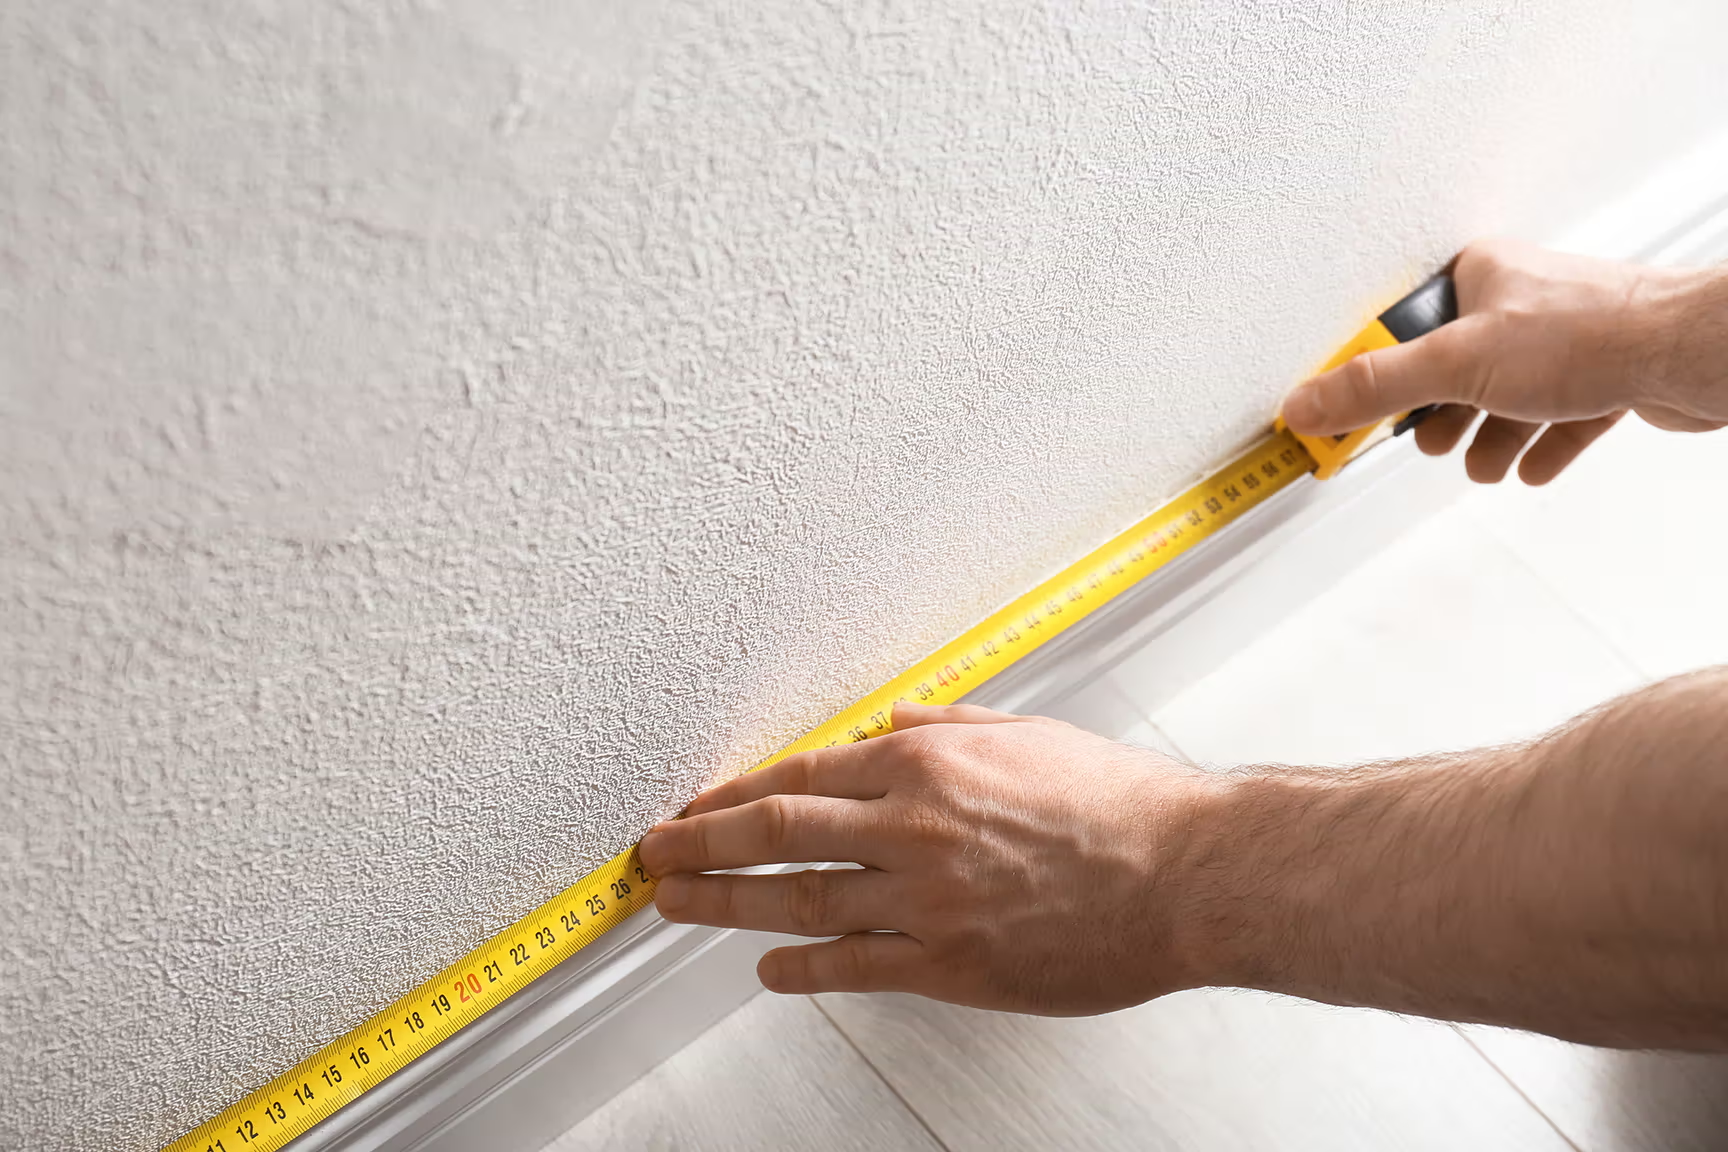
Measuring Walls
Measure each wall from corner to corner and record each length. Add about 10-15% to your total to account for cutting mistakes and waste. It's better to have a little extra than to run short mid-project.
Choosing Baseboard Style
Baseboard profiles range from simple flat stock to more detailed colonial or craftsman styles. Choose a profile that fits your home's aesthetic. Taller baseboards (3½" to 5") make a stronger visual statement, while shorter profiles suit casual or modern spaces.
Prepping Surfaces
Before your new baseboard goes up, make sure the area is clean, dry, and ready for a smooth fit. If you’re replacing old trim, remove it carefully with a pry bar, avoiding damage to the drywall. Scrape away old caulk, paint buildup, or adhesive, then fill any existing nail holes and sand down uneven spots along the base of the wall. If you’re installing over new flooring, let it settle first so your trim sits properly. Also, use a stud finder to locate and mark the wall studs. This is where you’ll nail the baseboard in place.
How to Install Baseboard
Follow the steps below to install baseboards for your home.
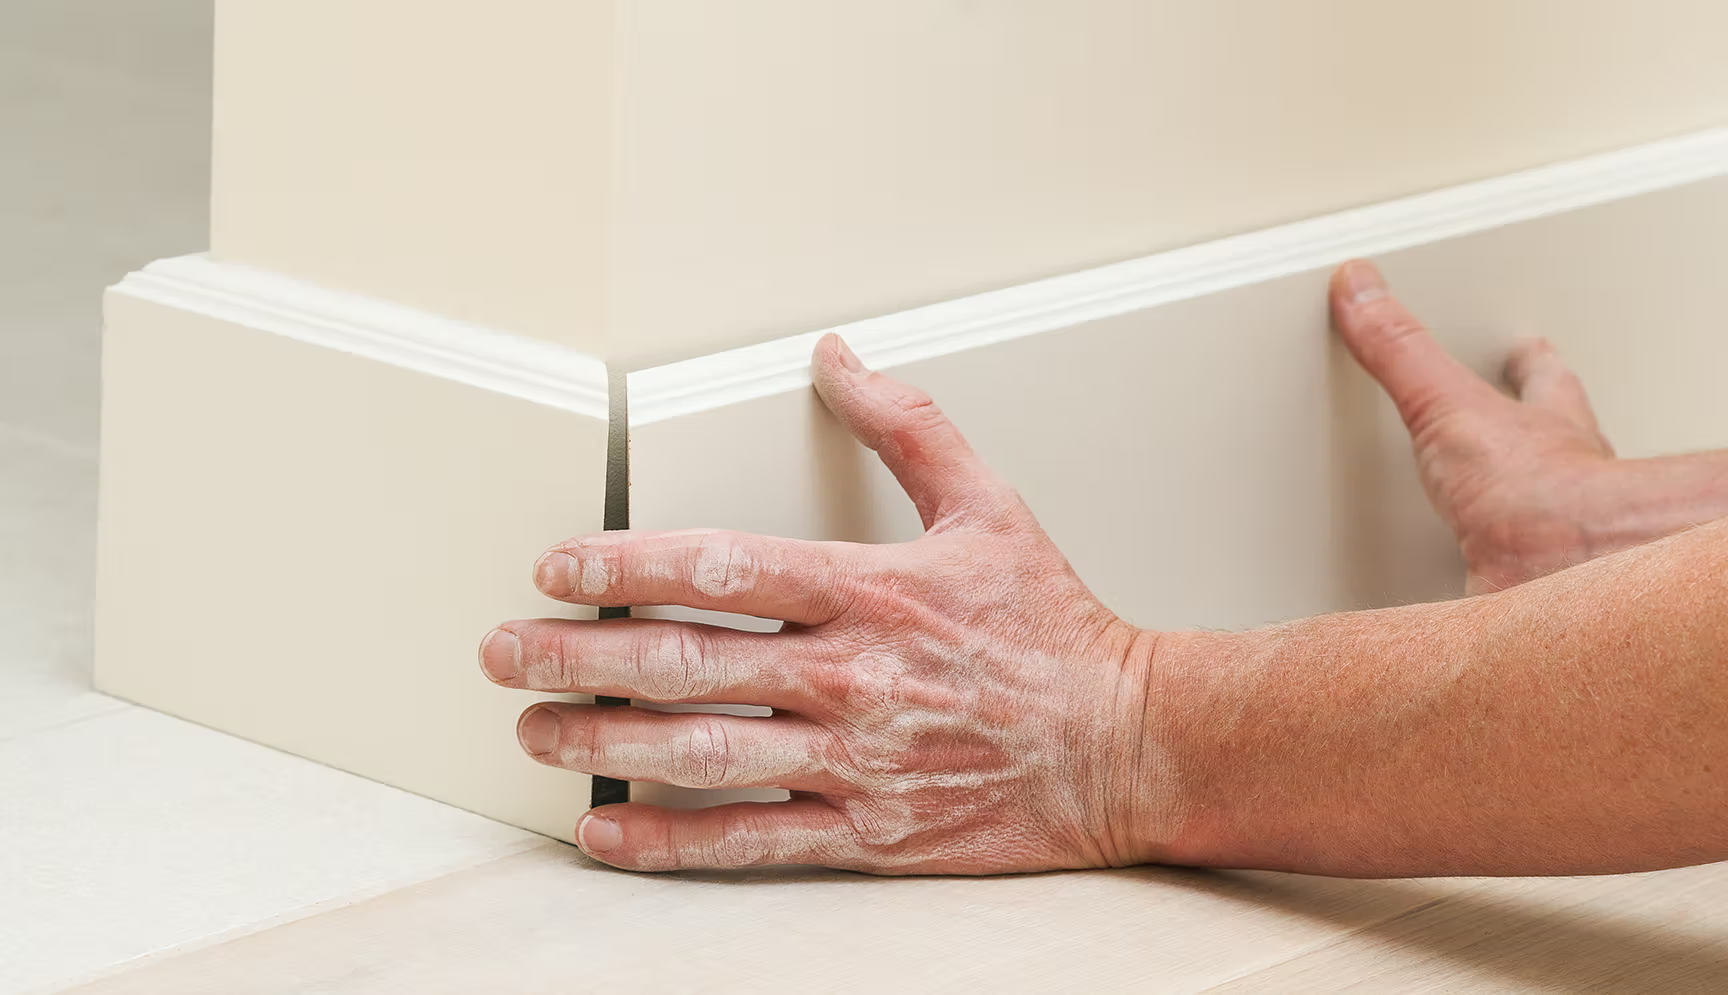
Step 1: Measure and Cut Baseboards
Mark each piece of trim for the wall it belongs to. Use a miter saw to cut straight 90-degree angles for flat walls. For inside and outside corners, you'll need angled cuts (see Step 2). Always cut a little long first, then trim down for a snug fit. Measure twice, cut once.
Step 2: Fit Around Corners
Corners are where most first-timers slow down, and that's perfectly fine. For inside corners, a coped joint (where one piece sits flat and the other is cut to overlap it) gives you the cleanest result and accommodates walls that aren't perfectly square. For outside corners, cut both pieces at 45 degrees so they meet flush at the tip.
Step 3: Nail Baseboards in Place
Hold each piece firmly against the wall and floor. Use a nail gun (or finishing nails and a hammer) to drive nails into the wall studs at an upward angle, roughly every 16 inches. Add a second nail near the bottom of the board to pull it flush with the floor. Work one wall at a time to keep things manageable.
Step 4: Fill Gaps and Nail Holes
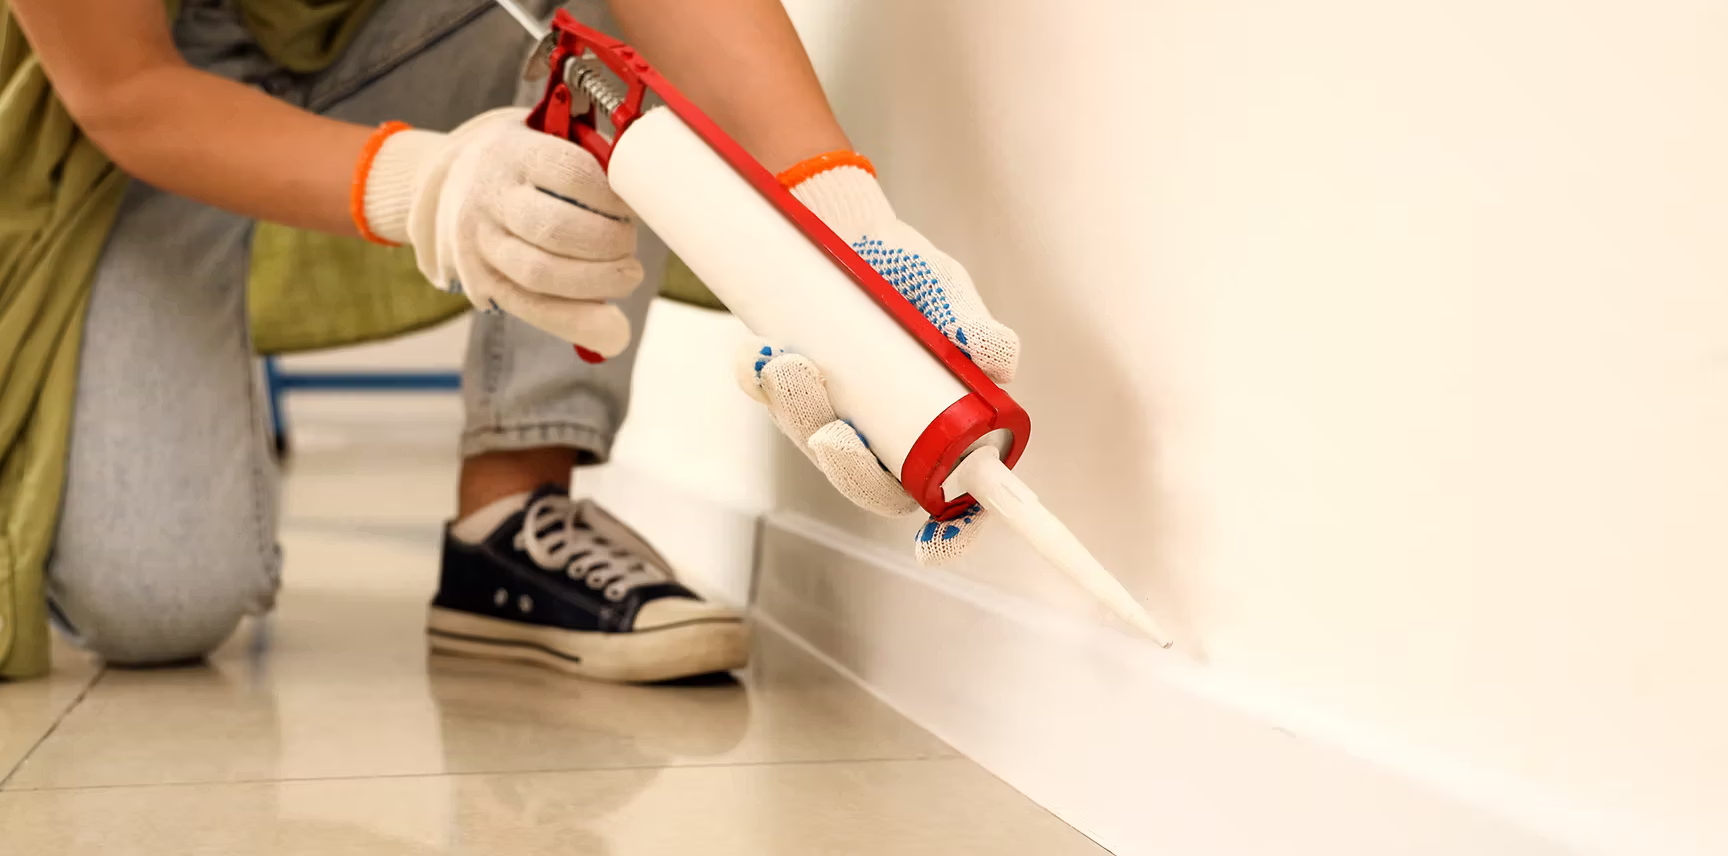
Once all your trim is up, run a thin bead of paintable caulk along the top edge where the baseboard meets the wall. This seals gaps and creates a smooth line. Fill nail holes with wood filler, let it dry, and sand lightly until flush.
Step 5: Paint or Finish
If you didn't pre-paint the boards, now's the time. Apply a coat of primer first, especially on raw wood, then finish with your chosen color or stain. Semi-gloss and satin finishes hold up well in high-traffic areas and are easier to clean.
Tips for Clean Cuts and Finishes
Consider the tips below to help achieve the results you want:
• Test-fit before nailing: Hold each piece in place before committing to the nail gun.
• Let the caulk do the work: A thin, neat line along the top edge hides small gaps.
• Sand between coats: Lightly sand with fine-grit paper between coats for a smoother finish.
• Use a stud finder: Nailing into studs keeps trim secure over time. Avoid relying on drywall anchors alone.
Where Baseboards Make the Biggest Impact
Baseboards improve every room they're in, but certain spaces benefit most.
Long hallways look more intentional and architectural with consistent trim running through them. Living rooms and bedrooms gain a polished, complete feel. Kitchens and bathrooms, especially after flooring updates, look more cohesive when trim ties the floor to the wall.
If your home is around 20 years old and due for a refresh, new baseboard trim is one of the highest-impact, lowest-effort upgrades you can make.
Find the Right Trim for Your Project
Ready to get started? Home Outlet carries a quality selection of baseboards, moulding, and finishing materials to suit a wide range of project styles and budgets. From base moulding and quarter round to casing and trim board, you'll find everything you need to finish the job right, all at the Guaranteed Lowest Price.
