

How To Install Laminate Flooring
How to Install Laminate Flooring: Step-by-Step Guide
Upgrading your home doesn’t have to mean hiring a costly crew or living in a construction zone for weeks. If you want a durable, cost-effective update, installing laminate flooring is a smart, DIY-friendly project. Laminate planks feature a simple click-and-lock system, making it easy for beginners and pros alike to transform a room over a weekend.
In this guide, we’ll walk you through the essential steps, from preparing your subfloor to laying the final plank, so you can achieve a professional-looking finish.
Key Takeaways:
• Easy click-lock systems make laminate flooring highly accessible for DIYers.
• Proper subfloor preparation and acclimation are critical for a long-lasting installation.
• Staggering seams and leaving an expansion gap ensures your floor remains stable over time.
Watch: How to Install Laminate Flooring
Before you grab your tools, watch our quick video tutorial. It covers everything you need to know to prepare your space, gather the right materials, and master the basics of click-lock installation.
Tools and Materials You’ll Need
Having the right gear ready will make your installation go smoothly. Gather these essentials:
• Laminate flooring planks
• Underlayment (if your planks do not have a pre-attached pad)
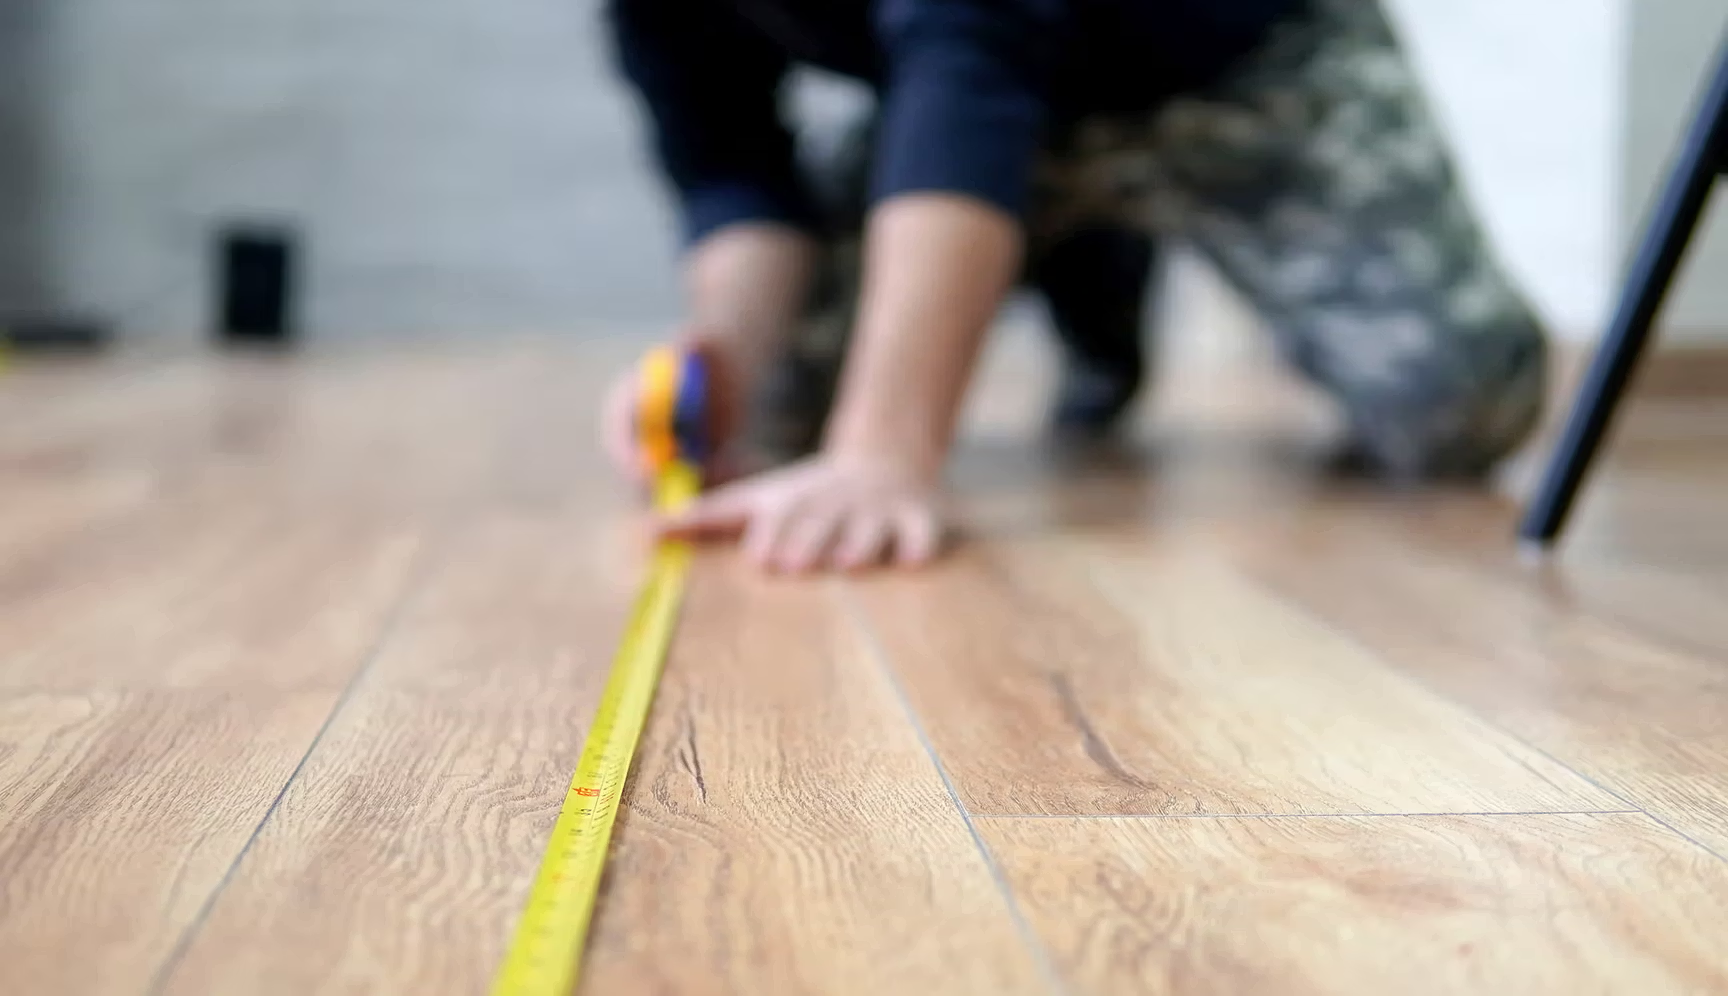
• Measuring tape and pencil
• Spacers (typically 3/8-inch)
• Tapping block and pull bar
• Rubber mallet
• Circular saw, hand saw, or laminate cutter
• Safety glasses and knee pads
Preparing Your Space for Laminate Flooring Installation
Take these precautions to ensure you have a successful installation:
Removing Old Flooring
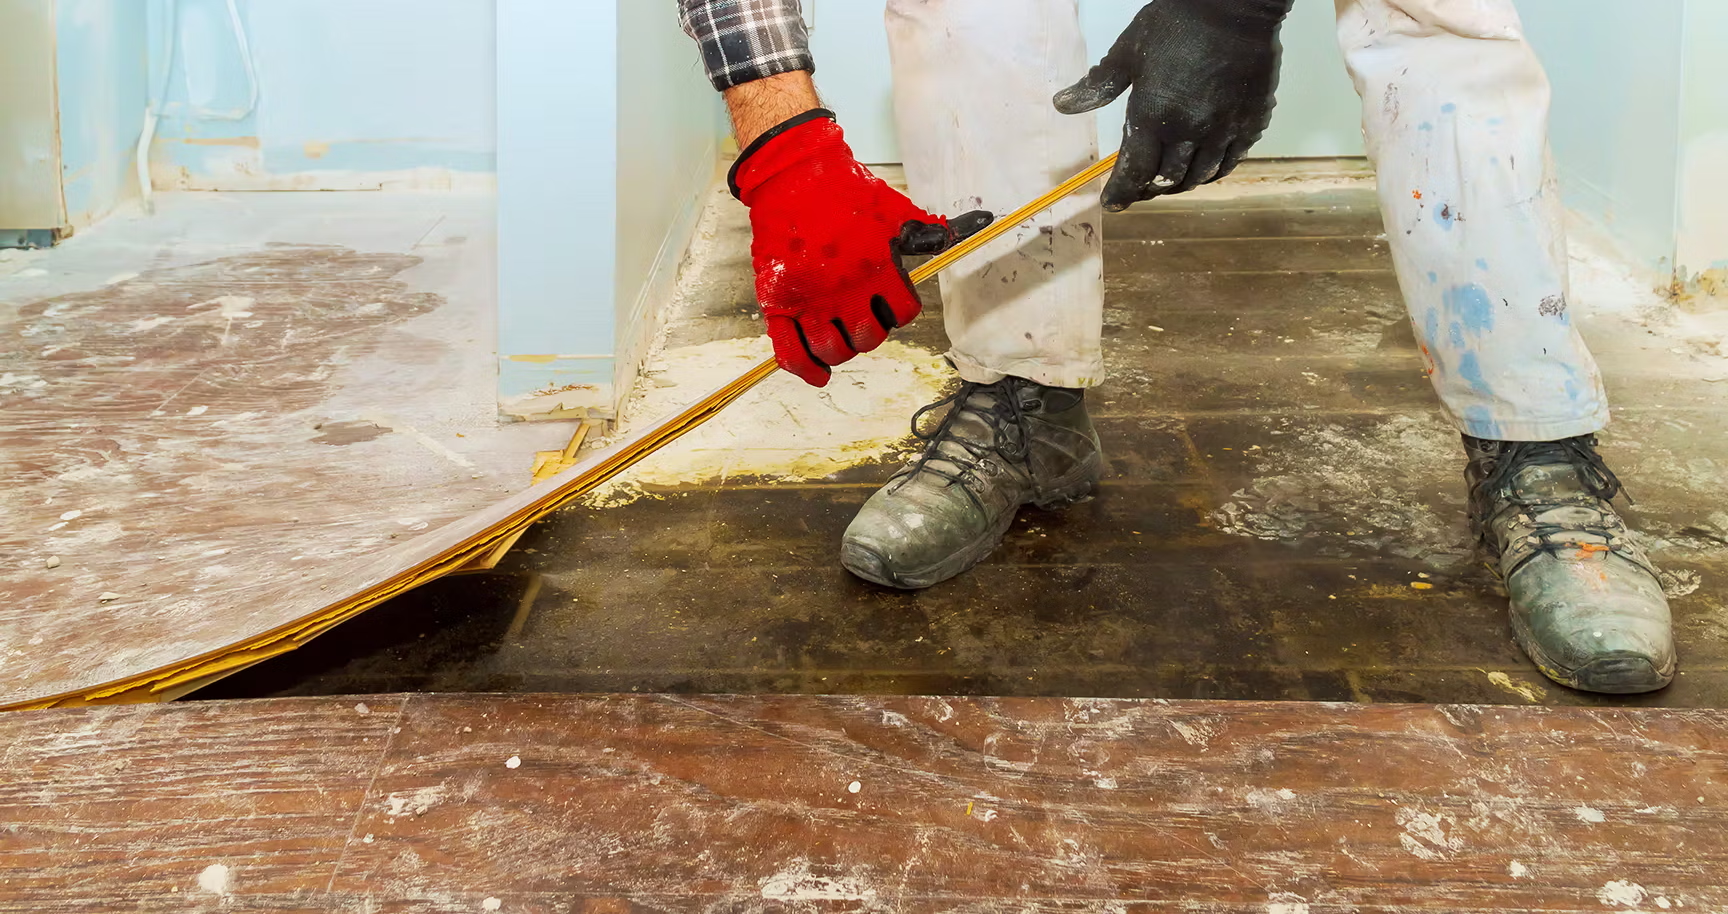
Start by carefully removing existing flooring, such as old carpet or damaged vinyl, along with the baseboards. Be gentle with the baseboards so you can reuse them later. Hard surfaces like well-adhered tile or sheet vinyl can sometimes stay in place, provided they are clean and flat.
Checking Subfloor Conditions
Your subfloor must be clean, dry, and level. Sweep away all debris and pull up any stray nails or staples. If you have a concrete subfloor with dips or cracks, use a concrete patching compound to smooth it out. For wooden subfloors, sand down high spots and replace any damaged boards.
Acclimating Flooring Materials
Laminate expands and contracts with changes in temperature and humidity. Place your unopened boxes of flooring flat in the room where they’ll be installed. Leave them there for at least 48 hours prior to installation so the planks can adjust to the room's climate.
How to Install Laminate Flooring
Follow the steps below to install laminate flooring.
Step 1: Plan Your Layout
For the best visual appeal, plan to run your planks parallel to the longest wall in the room. Measure the room's width and divide it by the width of a single plank. This tells you how wide your final row will be. If your last row will be less than two inches wide, trim your first row to balance the layout.
Step 2: Install Underlayment
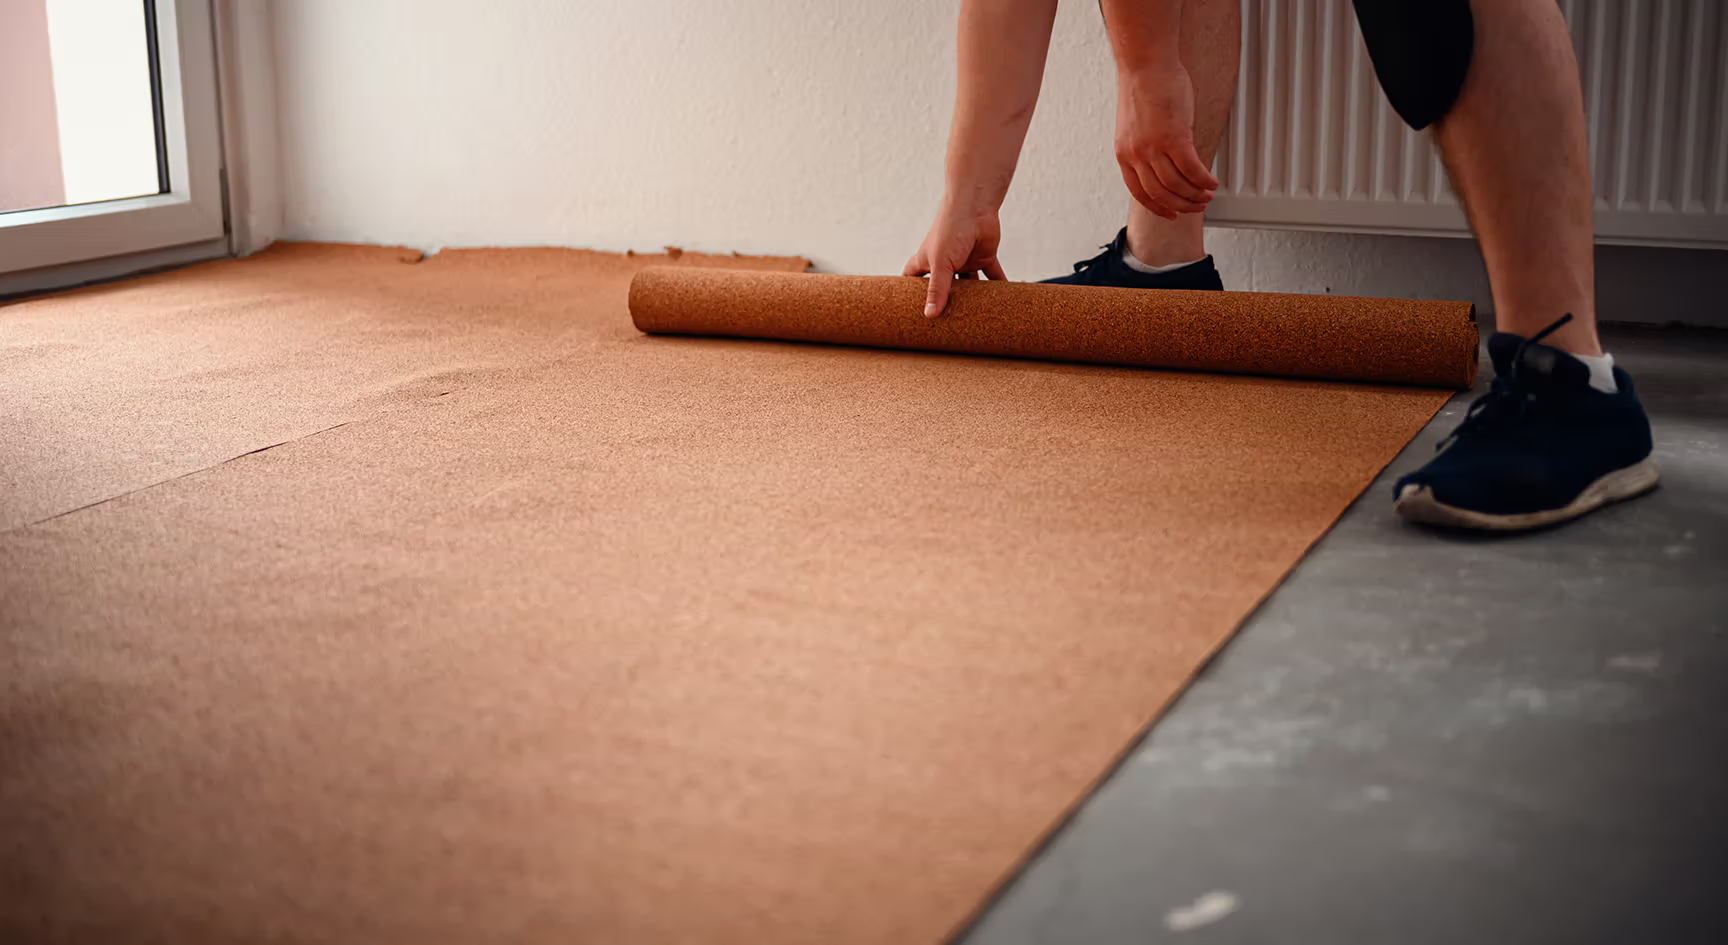
If your laminate planks do not feature an attached pad, roll out your foam underlayment. Trim it to fit with a utility knife. Butt the edges together (don’t overlap them, as this creates bumps under your floor), and secure the seams with duct tape to maintain a solid moisture barrier.
Step 3: Lay the First Row
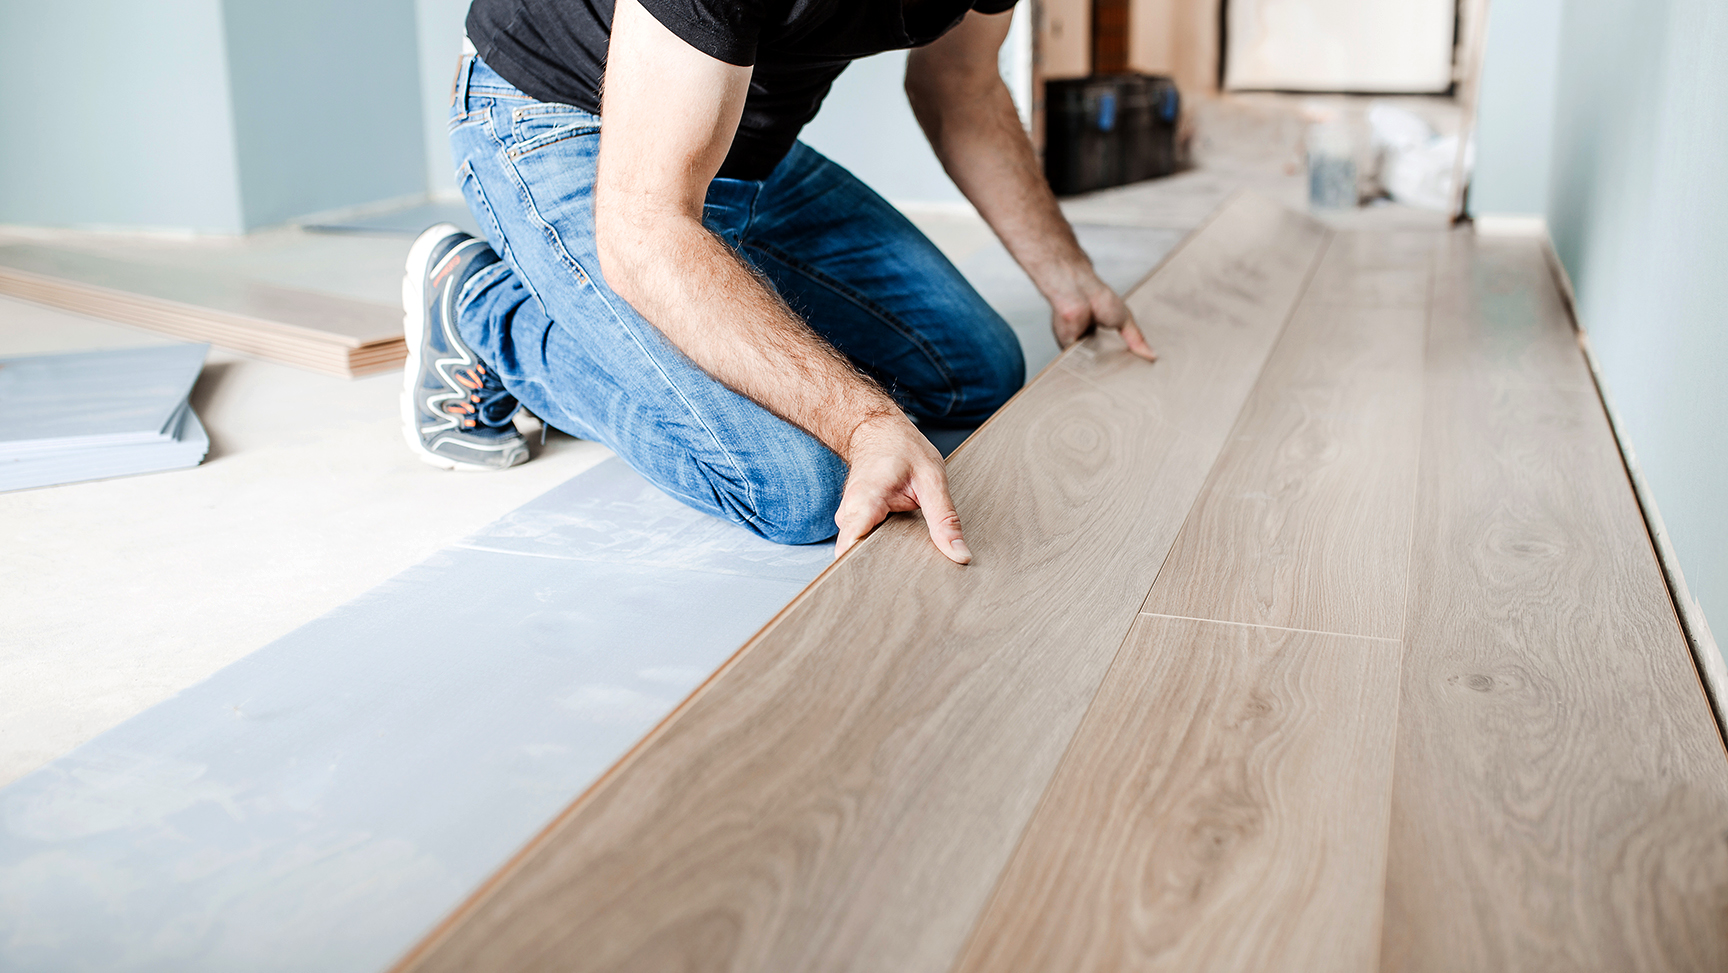
Place 3/8-inch spacers against the wall to create an expansion gap. This gap gives the flooring room to expand without buckling. Place your first plank with the tongue side facing the wall. Take your second plank, align the tongue into the groove of the first plank at a slight angle, and press down to lock it in place. Continue until you reach the end of the row, cutting the final plank to fit
Step 4: Continue Installing Planks
Use the leftover piece from your first row to start your second row, provided it’s at least 12 inches long. This naturally staggers your seams, giving the floor a more realistic wood look and adding structural stability. Angle the long side of the new plank into the groove of the previous row, press down, and use your tapping block and rubber mallet to gently close any gaps.
Step 5: Cut and Fit Around Obstacles
When you reach a doorway, it’s much easier to cut the door jamb than to cut the flooring to fit around it. Rest a piece of scrap flooring upside down against the jamb, draw a line, and use a hand saw to trim the wood. Your new floor will slide neatly underneath for a clean, professional finish.
Common Mistakes to Avoid
Avoid these mistakes when installing your laminate flooring.
• Forgetting the expansion gap: Skipping the 3/8-inch gap along the walls is the most common cause of buckling and bubbling.
• Ignoring the stagger: Seams should be staggered by at least 12 inches. Aligning seams too closely weakens the floor.
• Rushing the acclimation: Installing planks straight from the store can lead to shrinking or swelling after the floor is laid.
How to Maintain Your Laminate Flooring
Laminate is incredibly durable, but it still needs proper care. Here’s what you should do:
• Sweep or vacuum regularly using a hard-floor attachment.
• When a deeper clean is needed, use a damp (never soaking wet) microfiber mop
• Avoid steam cleaners and harsh abrasive chemicals, as these can force moisture into the seams and damage the core.
• Add felt pads under heavy furniture for extra protection.
Find the Right Flooring for Your Project
Laminate flooring makes it easy to achieve a high-quality look without stretching your budget. With a little patience and the right tools, you can handle this project like a pro.
Explore Home Outlet’s laminate flooring options and installation-ready materials to get started.
