

How to Install Vinyl Plank Flooring
How to Install Vinyl Plank Flooring (LVP): Step-by-Step Guide
Looking to update your home with durable, stylish, and water-resistant floors? Vinyl plank flooring, often called luxury vinyl plank (LVP), is a fantastic choice for kitchens, bathrooms, and high-traffic areas. It gives you the look of natural wood while keeping the installation process DIY-friendly.
Key Takeaways:
• LVP is 100% waterproof, making it the perfect flooring solution for bathrooms and kitchens.
• Proper subfloor preparation is the most critical step for a smooth, long-lasting installation.
• Click-lock mechanisms make assembly fast and straightforward without the need for messy glues.
Watch: How to Install Vinyl Plank Flooring
This quick visual guide walks you through the entire process, highlighting why this water-resistant, durable material is such a DIY-friendly option for your home. Seeing the click-and-lock mechanism in action will make the written steps much easier to follow.
Tools and Materials You’ll Need
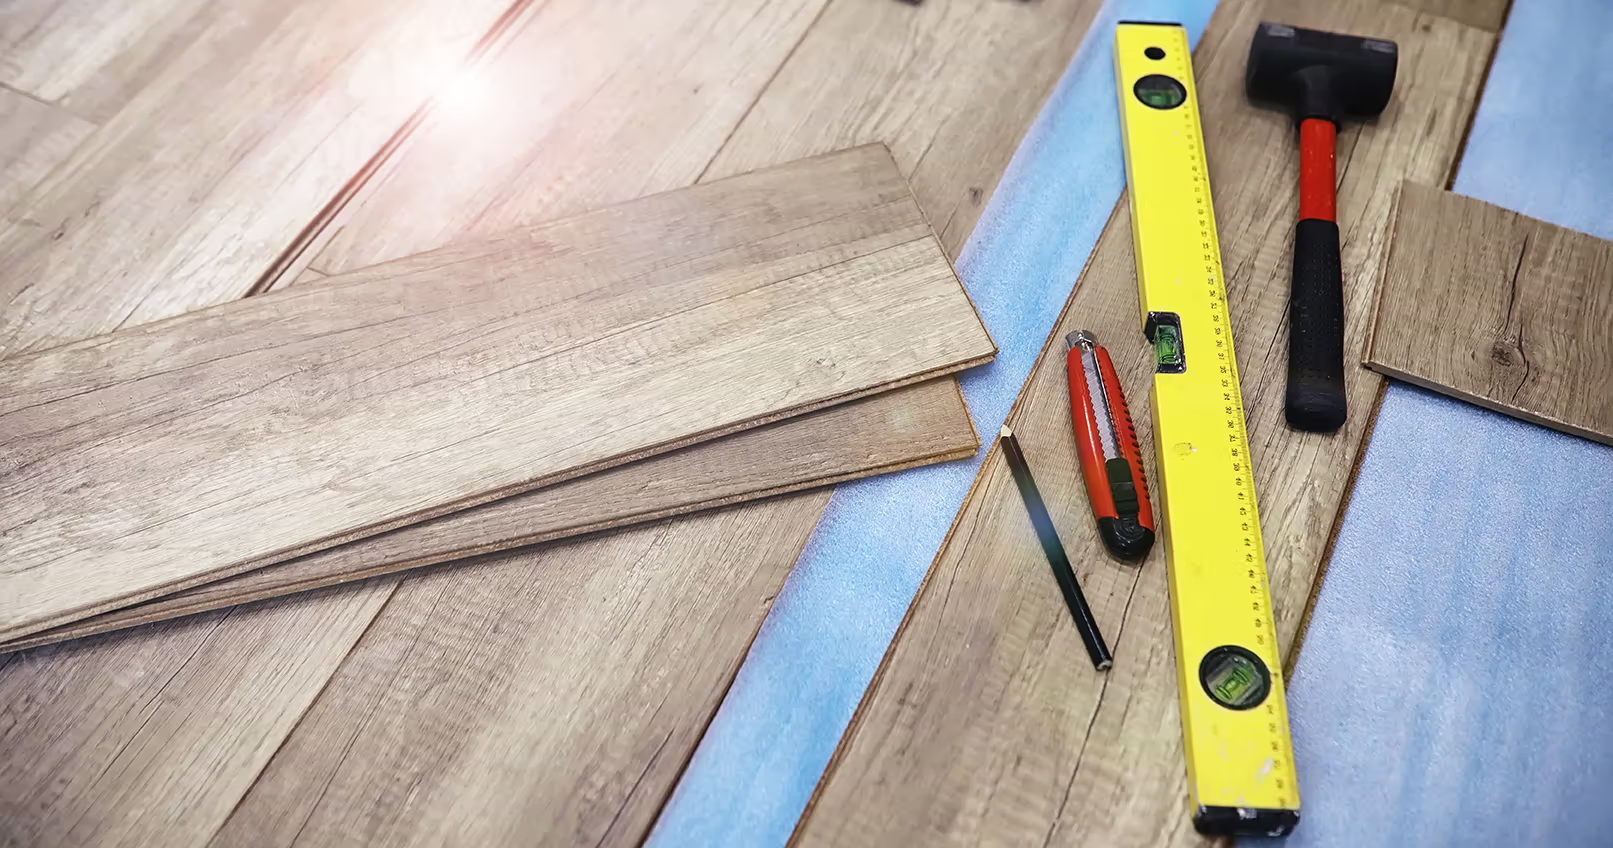
Before you begin, gather the right equipment. Having everything on hand makes the job much smoother and keeps your project moving forward.
• Luxury vinyl planks
• Tape measure and square tool
• Utility knife
• Spacers (1/4-inch)
• Tapping block and rubber mallet
• Pull bar
• Level
Preparing Your Space for Vinyl Flooring
Proper preparation is the key to a long-lasting floor.
Subfloor Preparation
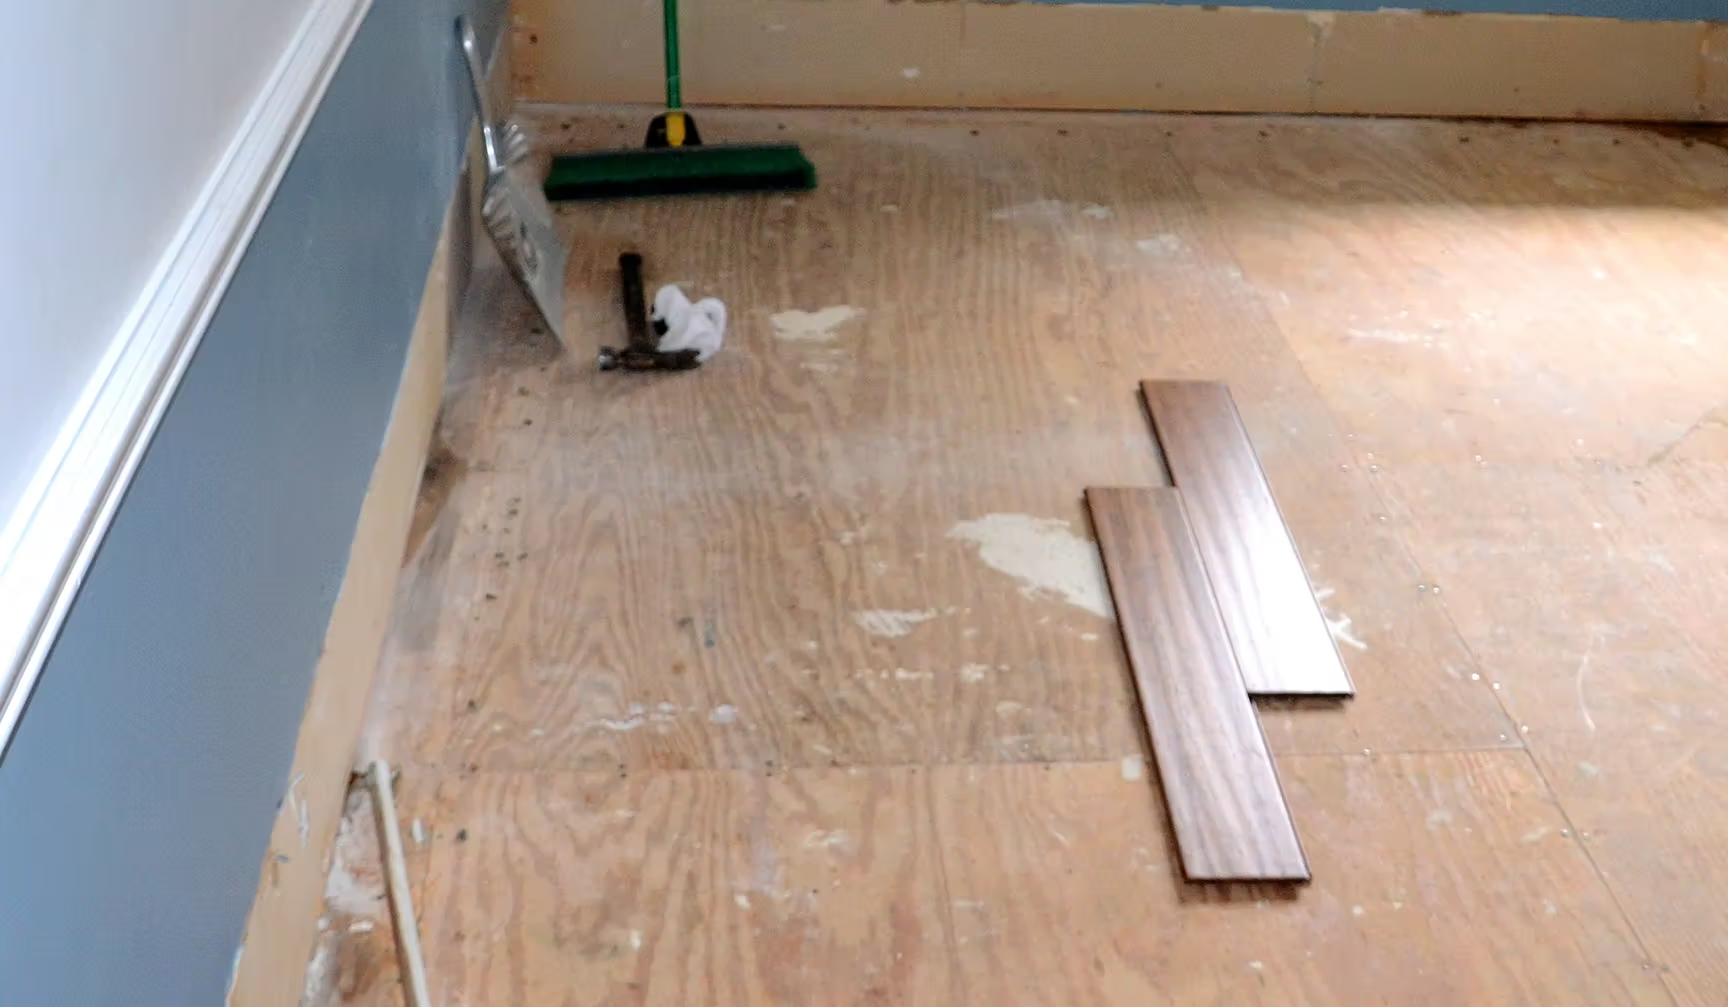
Make sure your subfloor is clean, dry, and level. You can safely install LVP over concrete, plywood, or even existing vinyl, as long as the surface is entirely flat. Remove any old baseboards, pull up staples or nails, and sweep away all debris.
Acclimating Planks
While many modern vinyl floors don’t require acclimation, it’s always a good idea to check your manufacturer's specific instructions. If required, leave the open boxes in the room for 48 hours so the material adjusts to the temperature and humidity. Mix planks from different boxes before you start to ensure a natural color blend.
Planning Layout
Measure your room to calculate how many planks you need. Plan your layout so your first and last rows are roughly the same width. This prevents you from ending up with a tiny, awkward sliver of flooring against the far wall.
How to Install Vinyl Plank Flooring
Follow these simple steps to learn how to install vinyl plank flooring.
Step 1: Install Underlayment (if needed)
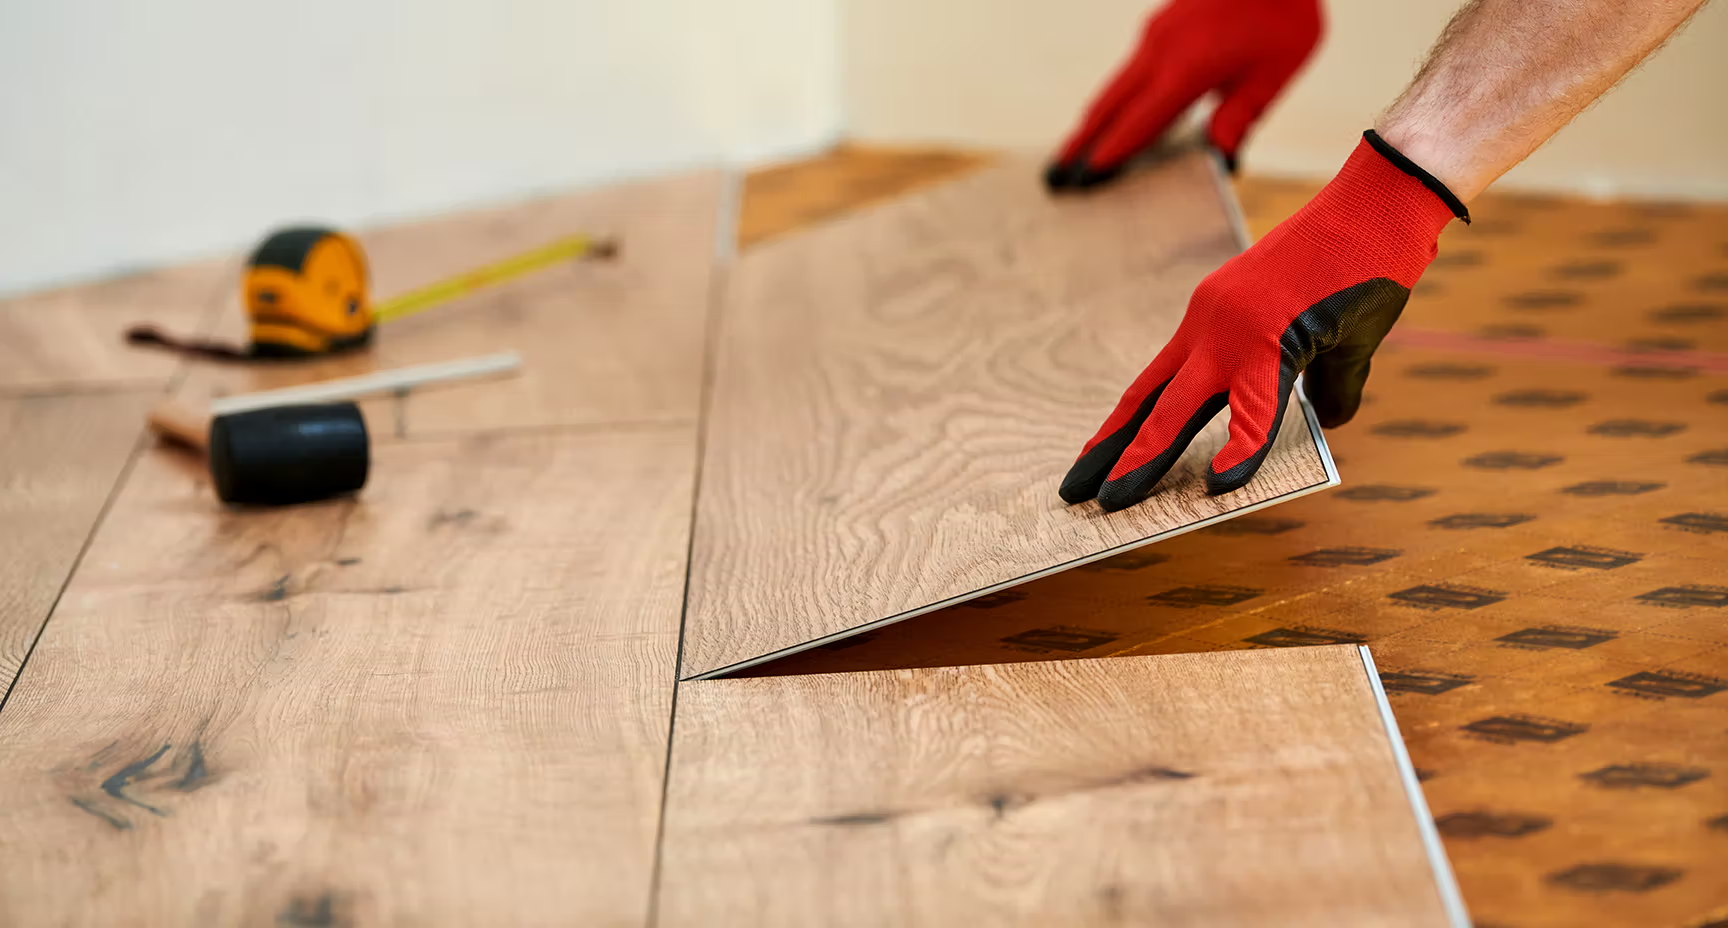
If your luxury vinyl planks do not feature an attached backing, and your manufacturer recommends additional underlayment or a vapor barrier, roll it out over the subfloor and tape the seams together to create a smooth, continuous layer
Step 2: Start the First Row
Begin in a corner, placing 1/4-inch spacers against the wall to allow for natural expansion. Lay your first plank flat, and position the next piece end-to-end to build out the row.
Step 3: Lock Planks Together
Insert the short end of the second plank into the first at a slight angle, then drop it down to lock it into place. Use a tapping block and a gentle tap with your rubber mallet to ensure the joints are perfectly tight. When starting the second row, make sure to stagger the seams by at least 8 inches for structural stability and a natural visual flow.
Step 4: Cut and Fit Around Edges
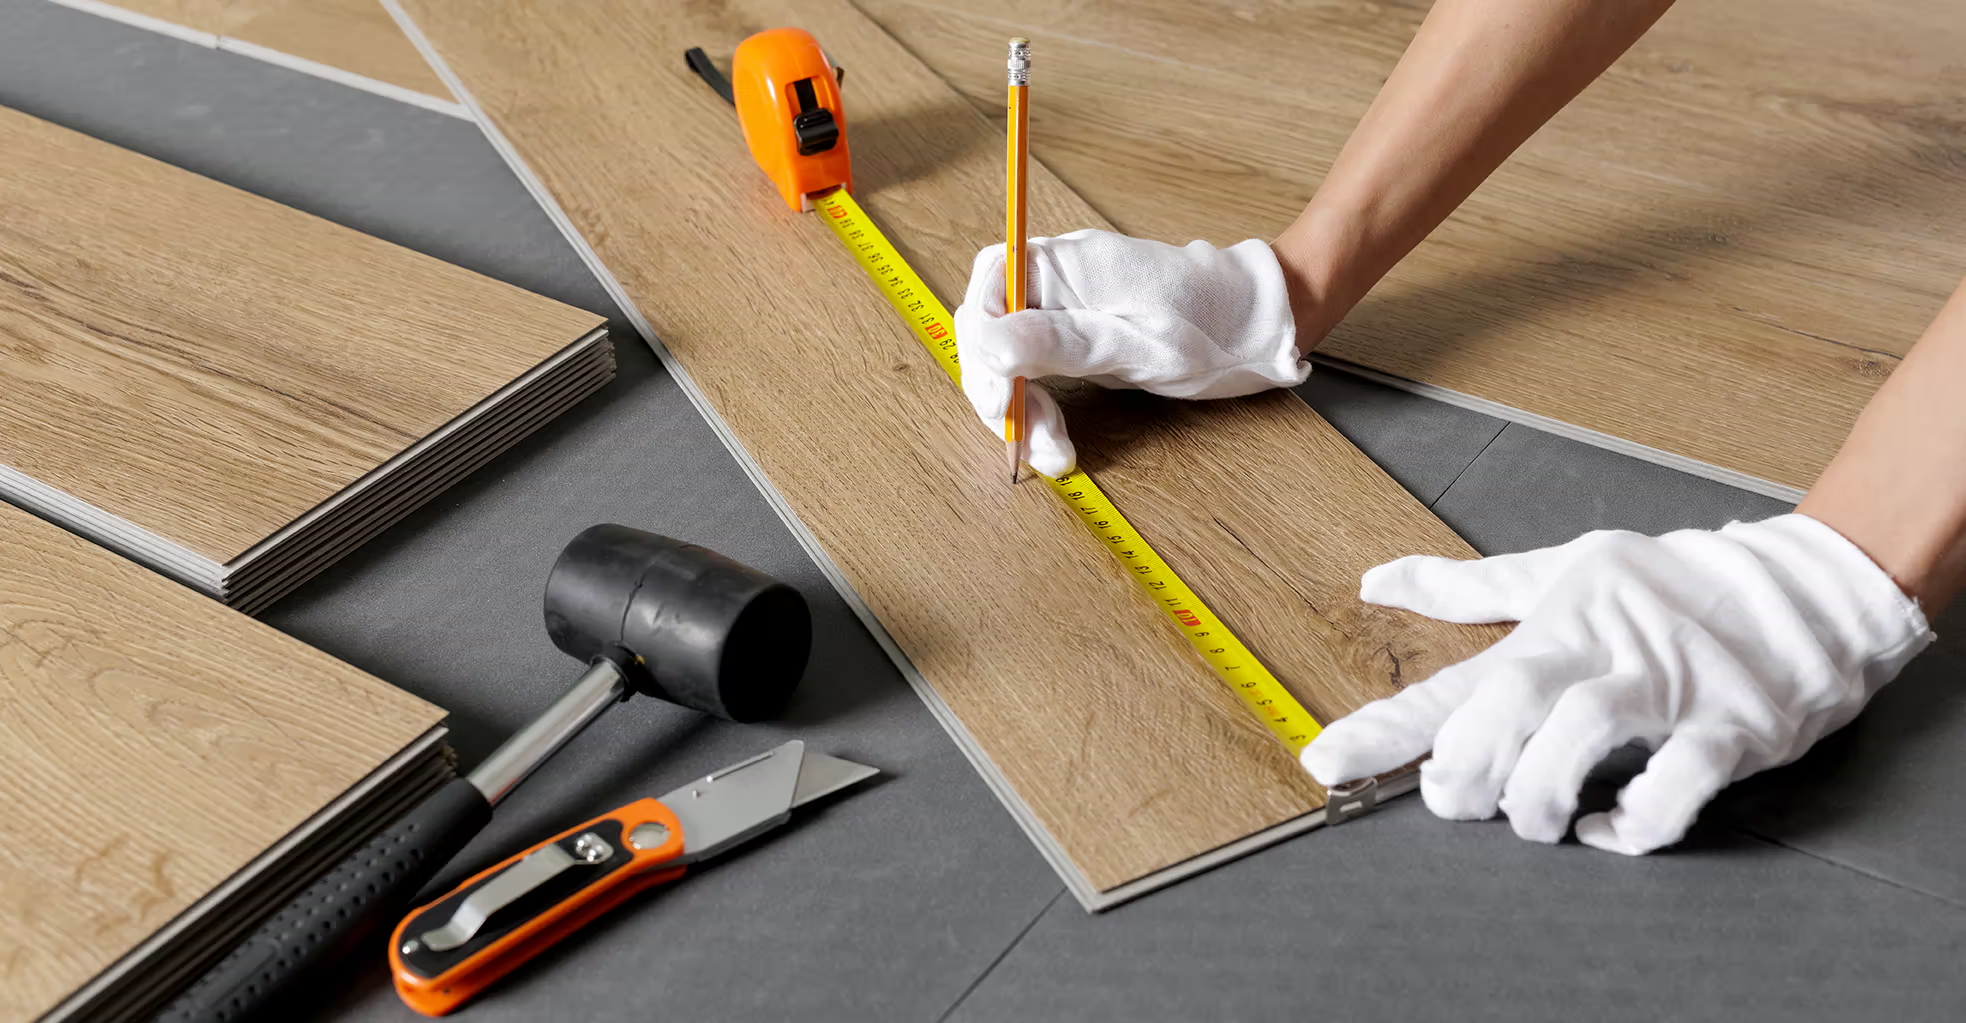
To cut a plank, measure your space, score the surface with a utility knife using your square tool as a guide, and simply snap the board along the line. Use a pull bar to snug the final pieces of each row tightly into place against the wall.
Step 5: Finish Edges and Transitions
Once all planks are securely installed, remove your wall spacers. Reattach your baseboards and add quarter-round molding to cover the expansion gap. Finally, install transition strips at doorways to seamlessly connect your new flooring to adjacent rooms.
Vinyl vs. Laminate: When to Choose Each
Both flooring options offer great value, but they serve different needs.
Vinyl Plank
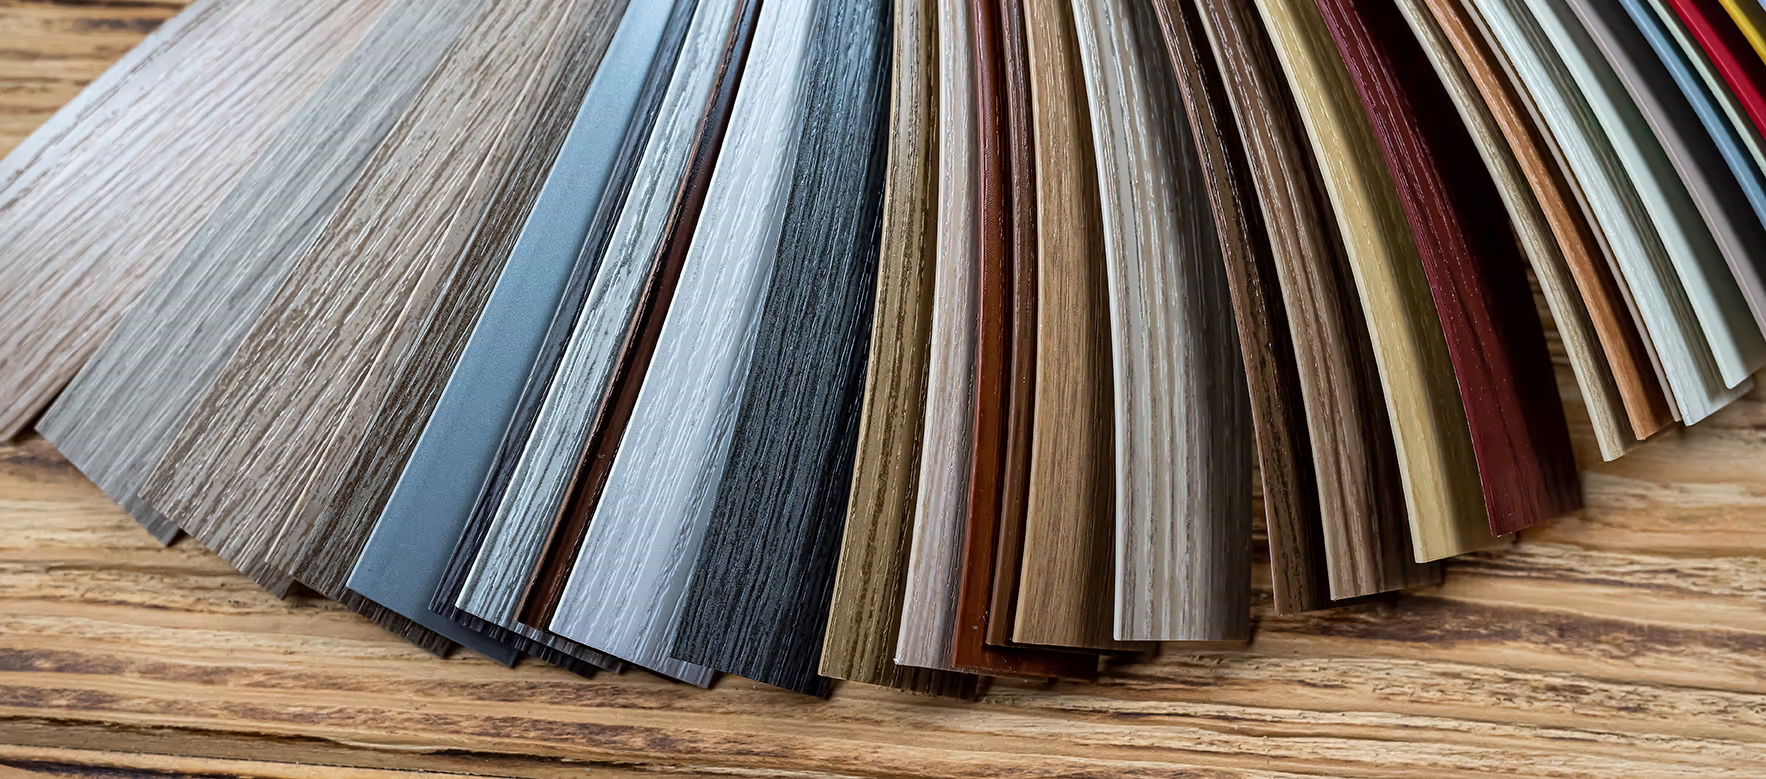
• Vinyl plank flooring is fully waterproof, making it the clear winner for moisture-prone areas like kitchens, bathrooms, and basements.
Laminate
• Laminate flooring provides a highly realistic wood look and is exceptionally scratch-resistant, which is great for living rooms and bedrooms. However, laminate cannot handle standing water as well as luxury vinyl.
Maintaining Vinyl Flooring
Keeping your LVP looking brand new is simple. Sweep or vacuum regularly to remove dirt and grit that could scratch the surface over time. For deeper cleaning, use a damp mop with a mild, pH-neutral floor cleaner. Avoid harsh chemicals and steam mops, as excessive heat can warp or damage the planks.
Find the Right Flooring for Your Project
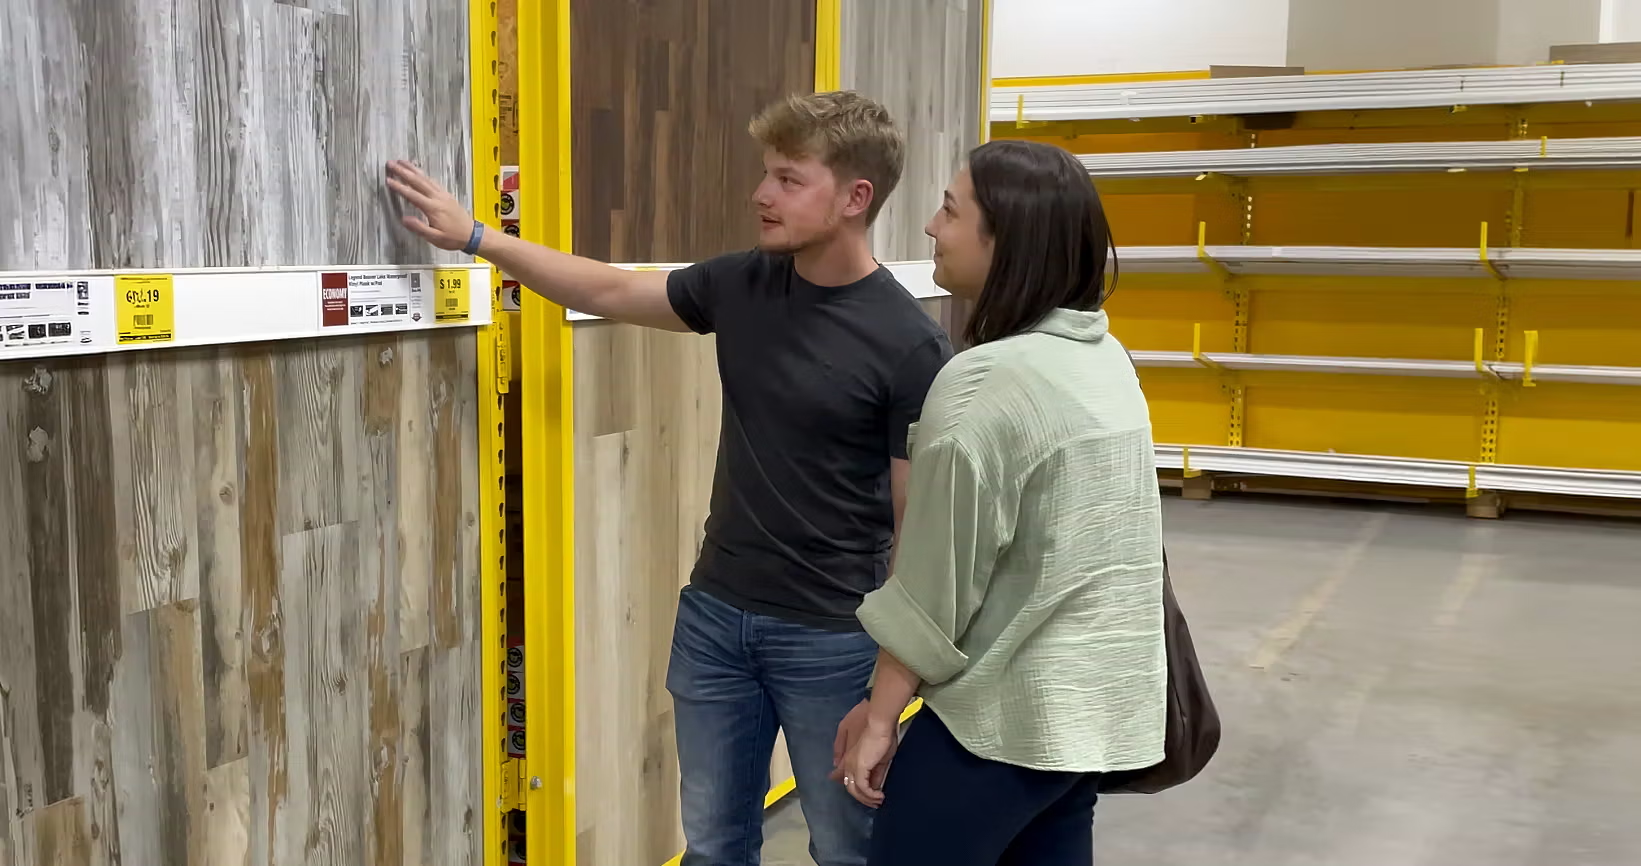
Upgrading your home is highly rewarding, especially when you can achieve a stunning look at the Guaranteed Lowest Price. Now that you know how to install vinyl plank flooring, it’s time to find the perfect fit for your room.
Explore our wide selection of vinyl plank flooring online, or visit your local Home Outlet store for knowledgeable, friendly assistance today!
