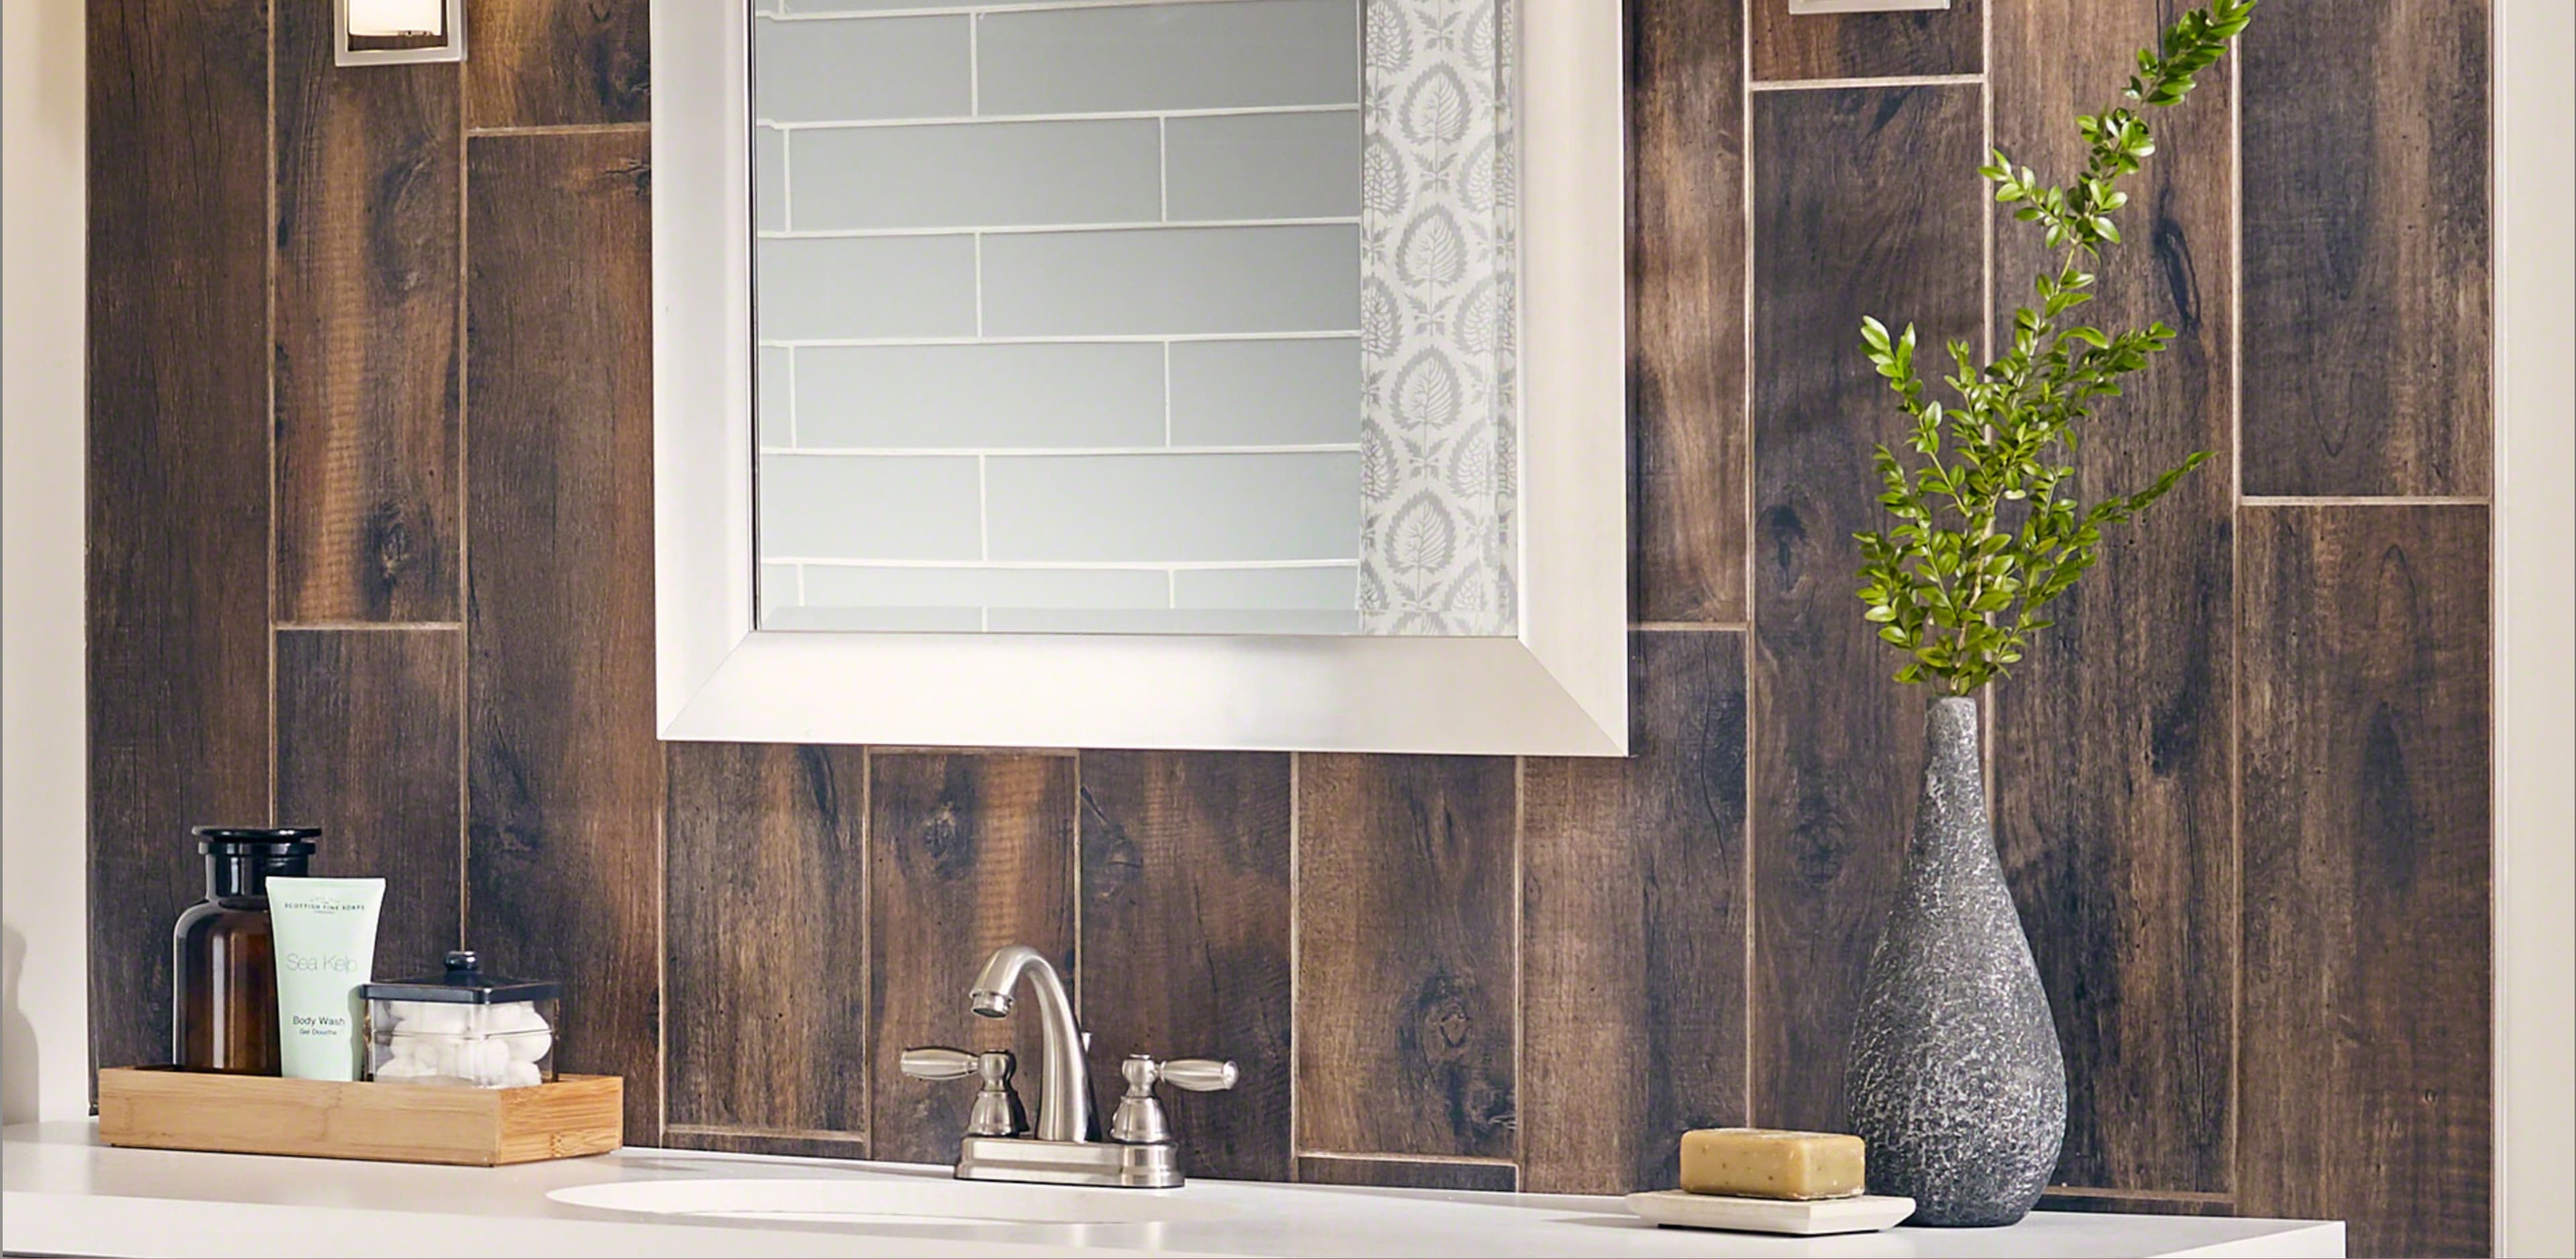
One Weekend Project Idea: Install a Gorgeous Wood-Look Accent Wall
Posted by Elizabeth D. on 8th Jun 2023
Wall planking can transform an average room into a space of fantastic visual interest. The warm, rich texture of a wood accent wall fills a room with color and dramatic architectural interest, yet it doesn't overwhelm the senses. The earthy tones of a wood accent wall are mellow and relaxing.
You can use vertical, horizontal or diagonal patterns to create a wood accent wall in your home. For your wood wall design, you can incorporate a single color or mix many colors, grain textures, or variations of light and dark to create a custom look for your home.
Types of Materials

There are many types of material you can use for a diy wood wall. You can choose from real hardwood planks, laminate or vinyl flooring planks, or even many types of wood-look tile. Some planks connect with tongue and groove while others have a straight edge. The wood-look tile should be grouted.
Step 1: Measure
Measure the length and width of the wall surface you wish to cover and calculate the square footage of the material. It’s best to buy extra planking in case you make a mistake. Make a simple drawing of your design.
Step 2: Clean Wall
The wall should be clean, smooth and dry. Remove any wallpaper, nails or residue and sand down any bumps on the surface. If you wash the wall, make sure it’s completely dry before installing the wood accent wall.
Step 3: Remove Any Items on Wall
If there are any light switches, outlets or thermostats on the wall, disconnect the electricity first, then remove the protective covers.
Step 4: Optional: Remove Base and Toe Moulding
For floor-to-ceiling wall planking, remove the base and toe molding. Use a utility knife to slice through any layers of paint that can damage the drywall during removal.
Step 5: Locate Wall Studs
If using nails to attach your planking, use a stud finder to locate the studs and mark their location, so you know where to place the nails.
Step 6: Draw a Starting Point
Don’t use the ceiling or floor as a starting point! They may not be perfectly level, and your planks will be crooked. Using the bubble level and a long straight edge layout tool, you can easily draw a perfect line for your starting point. You can start from the ceiling and work down, or you can start from a center part of the wall and work down, then up.
Step 7: Attaching Planks
For attaching the planks, either apply adhesive or peel off the tape and stick the planks on the wall. Use nails if that's your choice. If wooden planks are not perfectly square, you can trim them for a better fit.
Step 8: Next Row
For the second row, cut the first plank in half, so you can stagger that row. Only cut as many as needed to avoid waste.
Step 9: Work Around Outlets, Light Switches, etc.
Measure around any electrical outlets, light switches, thermostats or HVAC duct openings and trim the planks to fit around them.
Step 10: Trim Excess
If the planks are too wide to finish the bottom row, carefully trim them for a snug fit. With tile, grout as the next step.
Step 11: Replace Outlet Covers, Light Switches, etc.
Replace the covers on the light switches and electrical outlets and turn on the power.
Conclusion

For just a few hours of time and very affordable materials, you can create a gorgeous wall to give you visual pleasure for years to come.
About the Author
Elizabeth D. has worked as a contractor in the construction of new homes and renovation of older homes for 25 years. She has written DIY articles in the field of home construction and repair for eHow. She has been involved in many DIY projects over the years. Elizabeth is the 'go-to' person in her circle to help improve the design of projects and solve problems with home construction.
The articles and other content contained on this website/blog are provided for informational purposes only and should not be relied upon for any purposes. While it is our goal to provide you with up-to-date, relevant and useful information on a wide range of topics, we make no representations or warranties of any kind, whether express or implied, concerning the reliability, suitability, completeness or accuracy of any of the information made available on this site. The articles and information contained on this site are not intended to provide legal, accounting or other professional or business advice and should not be treated as a substitute for the advice of a professional with knowledge of the facts and circumstances of your specific situation. By accessing this site, you agree that you will not seek to hold E.C. Barton & Company or any of its affiliates liable for any losses or unanticipated costs or assert any other claim based on your use of this site or on the reliance on the content contained herein.


