How to Add Crown Molding to Kitchen Cabinets
3rd Apr 2024
From door and window casings to baseboards, trim is one of the easiest ways to give any part of your home an upscale look.
But have you ever thought about adding crown molding to your kitchen cabinets?
If you’re looking to give your home a remodel, we’ll help you get started with this step-by-step guide on how to add crown molding to kitchen cabinets.
Why You Should Add Crown Molding To a Kitchen Cabinet
There are functional and aesthetic benefits to adding crown molding to your kitchen cabinets.
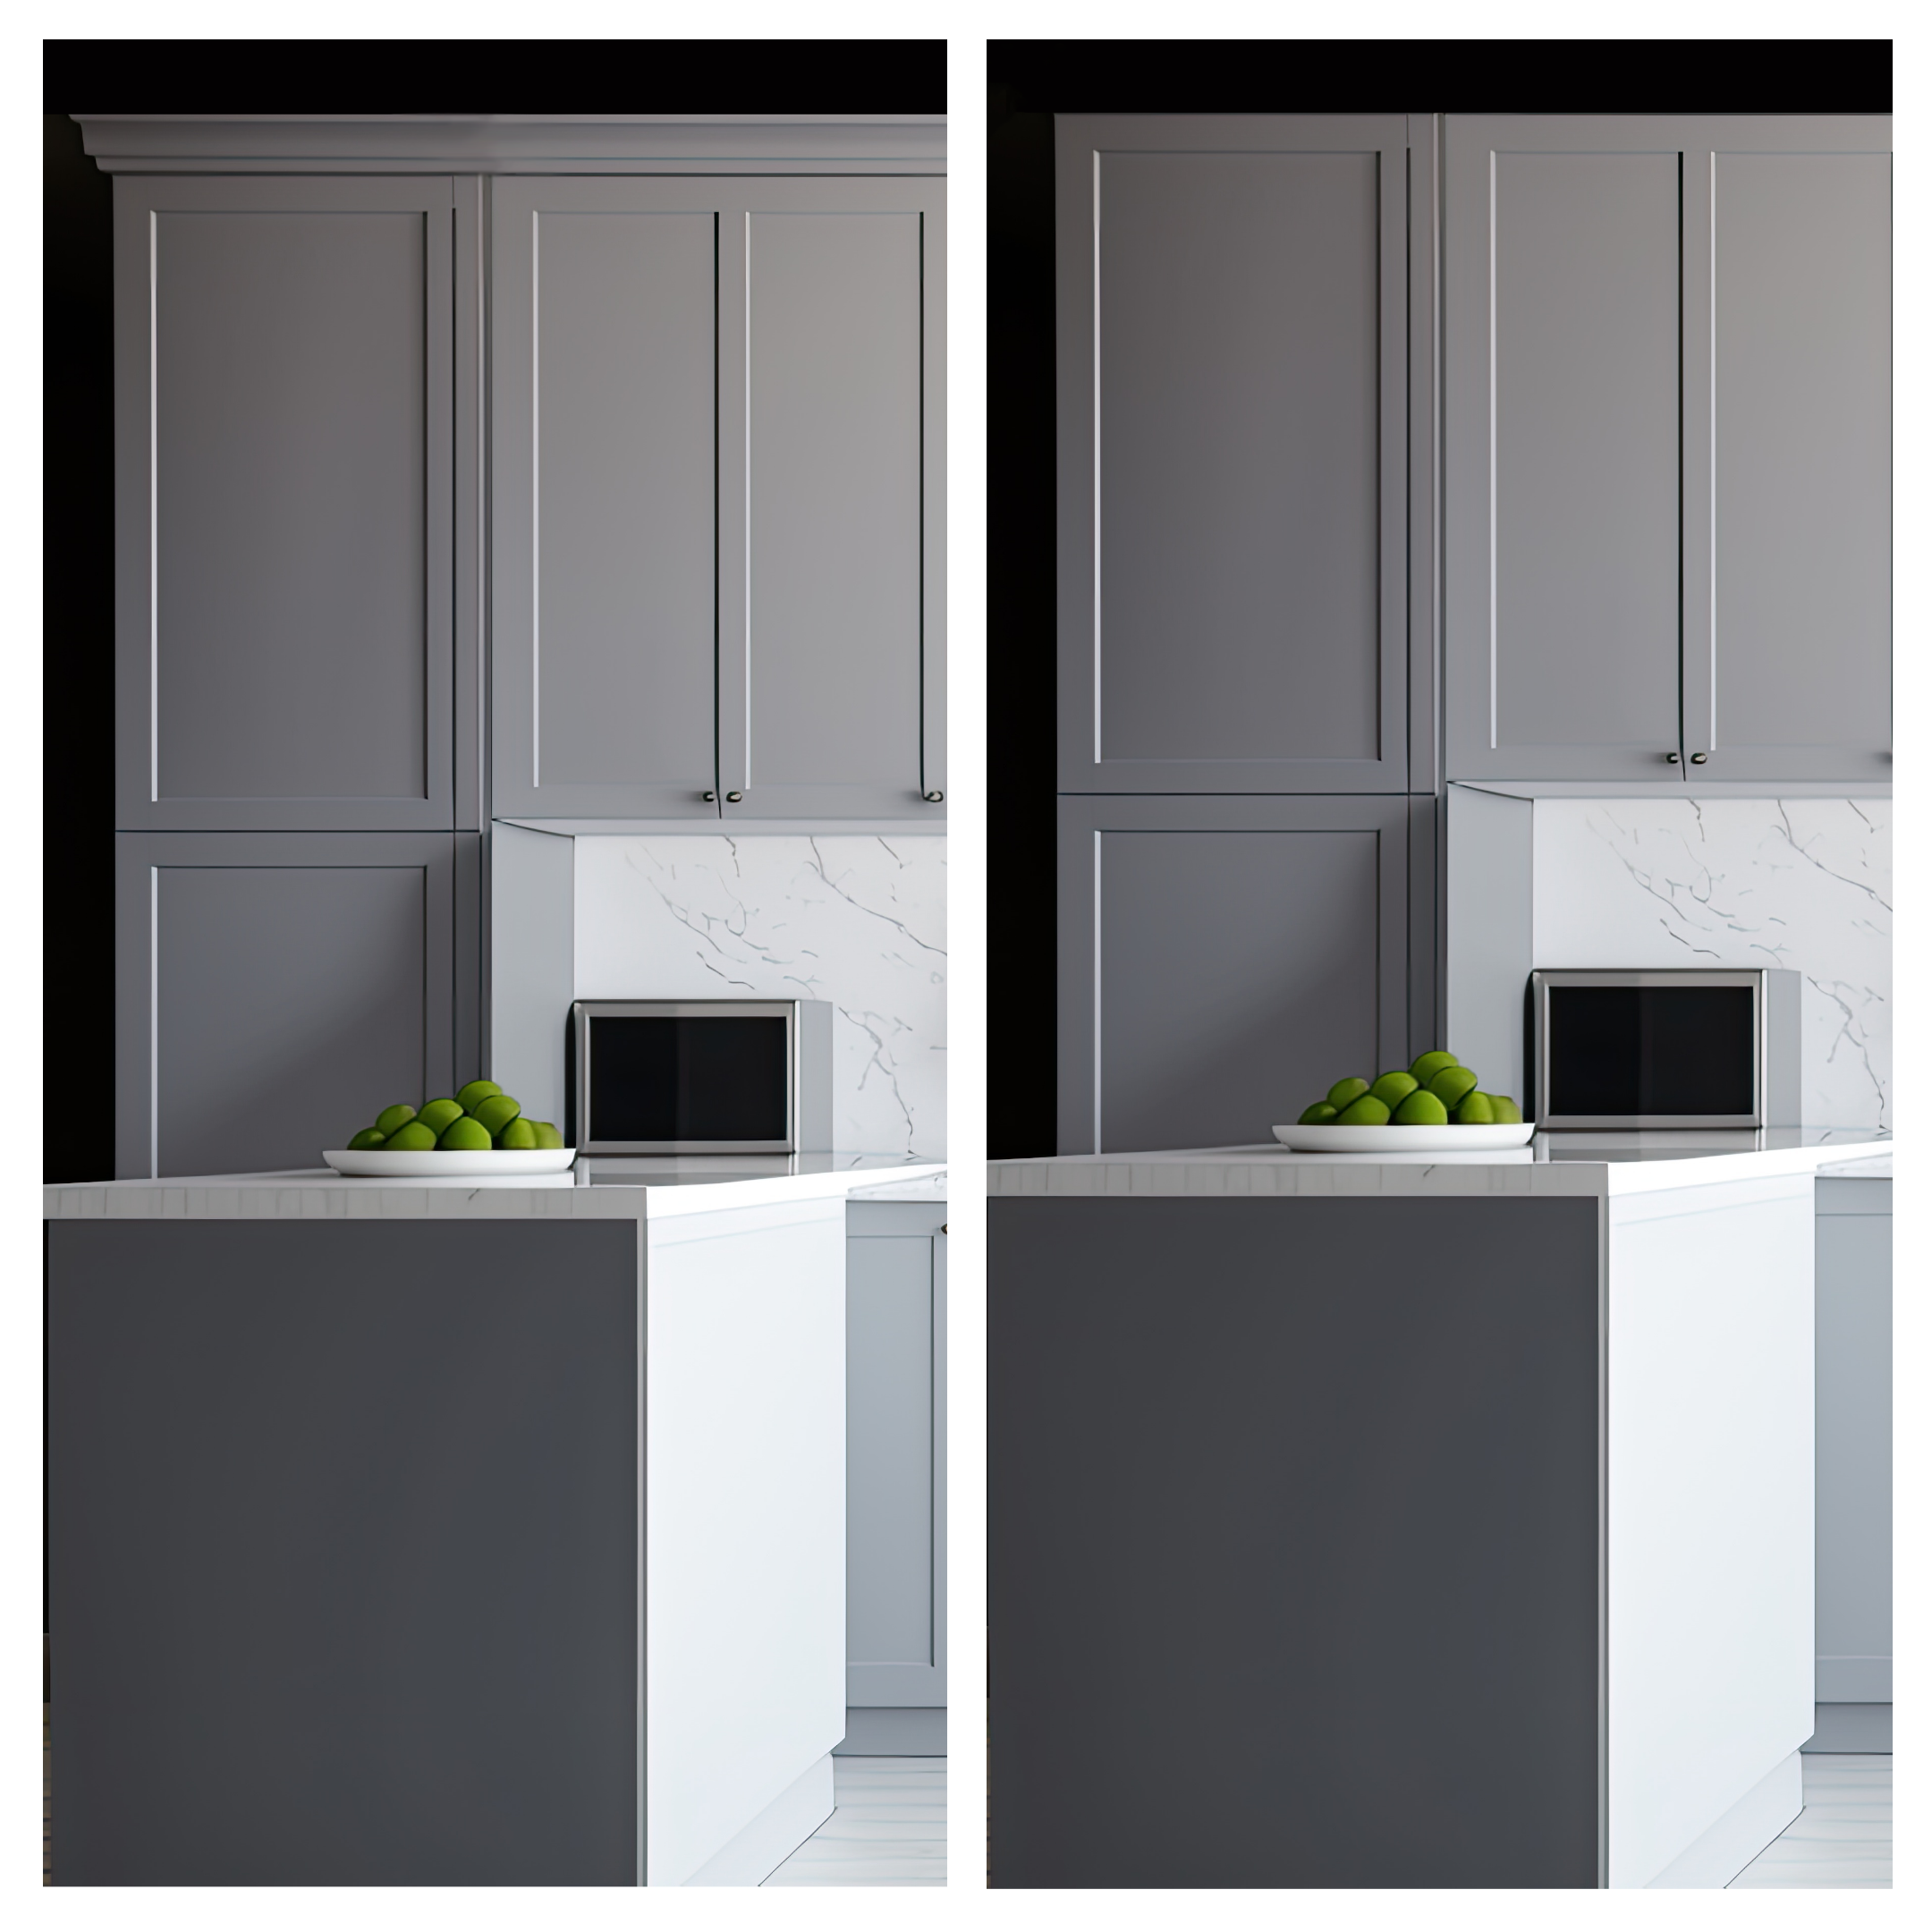
For one, kitchen cabinets with crown molding have a more finished look to them. They “dress up” the edges and help your cabinets blend into any kitchen design. Additionally, crown molding can cover up any gaps between your cabinets and ceiling.
Not only does this make your kitchen look better, but it can stop dust from getting trapped on top of your cabinets by closing the gap—cleaning crown molding is a lot easier than trying to get in between those tiny gaps.
To top it all off, adding crown molding to your kitchen cabinets is one of the cheapest remodeling projects you can take on. We know that alone is enough to make you anxious to start, but you’ll need to gather a few supplies first.
Tools and Materials You’ll Need:
- Crown molding
- Measuring tape
- Straight edge or level
- Nail gun
- Wood glue
- Miter saw
- Caulk and caulking gun
- Paint
- Paintbrush
- Painter’s Tape
Now that you have all your equipment, it’s time to learn how to add crown molding to a kitchen.
Step 1: Measure Your Cabinets
The first step is to measure your cabinets so that you know which type of crown molding and how much you’ll need to complete your project.
When you get the final measurements, make sure to add more length to your total number. Similar to baseboard, crown molding is cut at an angle, which means your cut piece will need to be longer than the top of your cabinets.
Once you’ve bought your molding and the necessary equipment, you can move on to step 2.
Step 2: Mark Your Kitchen Cabinets
Before you add your crown molding to a kitchen cabinet, you’ll want to mark where the molding will sit on the cabinet facing. Use your straight edge or level to get an accurate mark.
Marking Unfinished Oak Cabinets can be easier than marking darker ones like these Faircrest Bristol Chocolate Cabinets, but it can still be done. To mark darker cabinets you can use a white chalk, the marks will be noticeable on the dark surface and can be removed easily.
Step 2B: Add Scrap Wood or a Frame For Gaps
If your cabinets don’t reach the ceiling, you’ll have to add a wooden frame or some scrap wood around the tops to give the molding a surface to sit on.
Step 3: Cut Your Crown Molding
Did you measure twice?
Once you’re ready, use your miter saw to cut your molding. You can cut all your pieces at once if you’re feeling good about all your measurements, or you can cut as you go to make sure everything fits as you want it to.
Remember, you’ll be caulking and painting, so if something doesn’t line up perfectly you’ll be able to cover up any small gaps—just make sure they’re not too big.
Safety Tip: Because the molding rests on an angle against the table and the fence of your miter saw, you should place blocks on each side of the blade to safely keep the molding from slipping during cutting.
Step 4: Nail Your Crown Molding Into Place
Place your cut pieces into position and use your nail gun to attach them to the cabinets—wooden frame or scratch wood if you’re working with cabinets that have a gap.
To ensure the cleanest look possible during painting, a small nail every few inches works. You don’t want to use too many, as this will just give you more holes to patch.
Cleaner corners on your kitchen cabinet’s crown molding: Using nails on the corners of your crown molding can break or splinter the wood. Instead, try putting nail glue between the two pieces of molding and hold them together with painter’s tape while the glue dries.
Step 5: Caulk and Paint Your Crown Molding
Once you’ve placed all the crown molding on your kitchen cabinets, you can begin caulking.
Caulk will allow you to fill all the seams and nail holes so you can get a sleek, finished look. It also lets you fill in small gaps that may have occurred during the nailing process.
A good rule of thumb is to let the caulk dry for about an hour before you move on to the finishing touches.
Step 6: Prime and Paint
There’s a good chance that your kitchen cabinets and crown molding won’t match right out of the store.
If you went with an unfinished molding, you’ll need to prime it before painting. You may only need one coat if you’re painting your molding white, but darker colors may require two coats.
If your molding came pre-primed like this 5-¼” Primed MDF Crown Molding, you can start painting right away.
Once you’ve finished painting, you’re done! It really is that easy.
The Perfect Kitchen Cabinets and Crown Molding Combination
You don’t have to be a master carpenter to learn how to add crown molding to kitchen cabinets—and remember, it’s not just about knowing how to spruce up your cabinets with crown molding, it’s also about picking the right combination.
Home Outlet has a wide selection of crown molding and kitchen cabinets so that you can find the right products for your kitchen design.
Contact us today or visit a store near you if you have any questions about our products—we’ll get you on the right track to creating your dream kitchen.
