
How to Paint Unfinished Kitchen Cabinets for a Custom Look
Posted by Home Outlet Staff on 16th Jul 2026
How to Paint Unfinished Kitchen Cabinets for a Custom Look
Updating your space doesn’t require a massive budget or a complete room demolition. If you want a specific aesthetic without overspending, unfinished cabinetry offers the perfect blank canvas.
Learning how to paint kitchen cabinets gives you total control over the final design. You get to choose the exact color, sheen, and style that fits your home. This guide will walk you through the process from start to finish, ensuring your DIY project results in a beautiful, durable upgrade.
Why Choose Unfinished Kitchen Cabinets?
Unfinished cabinets are exactly what they sound like: solid, well-constructed wooden cabinets sold without a factory paint or stain. Homeowners love them because they offer incredible customization, allowing you to match any kitchen style perfectly.
Beyond their design flexibility, they’re highly budget-friendly. Because you’re doing the finishing work yourself, you save on the manufacturing costs.
To learn more about why these are such a smart investment, check out our guide on the top 5 reasons to buy unfinished oak cabinets.
Key Takeaways
- Painting unfinished kitchen cabinets is a manageable DIY project that allows you to customize your kitchen’s look while saving money.
- You can achieve a durable, stylish result with the right tools, preparation, and finishing techniques.
- Pair your freshly painted cabinets with quick updates like new hardware, a backsplash, or new countertops for a complete kitchen transformation.
Tools and Materials You’ll Need
Before learning how to finish unfinished kitchen cabinets, you need the right supplies. Gathering these items ahead of time keeps your project moving smoothly:
- High-quality water-based or oil-based primer
- Durable, kitchen-friendly paint (acrylic enamel or urethane trim enamel)
- Paintbrushes and foam rollers
- Sanding blocks or a detail sander (80-grit, 120-grit, and 220-grit)
- Drop cloths and painter's tape
- Tack cloth for removing dust
- New cabinet hardware
How to Paint Unfinished Kitchen Cabinets: Step-by-Step
Follow these steps below to learn how to paint your unfinished kitchen cabinets.
Step 1: Prepare and Clean the Cabinets
Start by removing all cabinet doors, drawers, and hardware. Lay the pieces flat on a drop cloth in a well-ventilated workspace. Even though the wood is new, wipe down all surfaces with a damp cloth to remove any lingering manufacturing dust or debris.
Step 2: Sand the Wood Surface
Proper sanding ensures your paint adheres correctly. Use an 80-grit sanding sponge to knock down any rough patches on the raw wood. Follow this with a 120-grit, and finally a 220-grit pass for a completely smooth finish. Wipe away the dust with a tack cloth.
Step 3: Apply Primer
Bare wood is porous and will soak up paint unevenly if you skip this step. Apply a high-quality primer to the cabinet frames, drawer fronts, and doors. Once the primer dries, you might notice the wood grain feels slightly raised. Lightly sand the primed surfaces with a 220-grit block to smooth them out, then wipe away the dust again.
Step 4: Paint the Cabinets
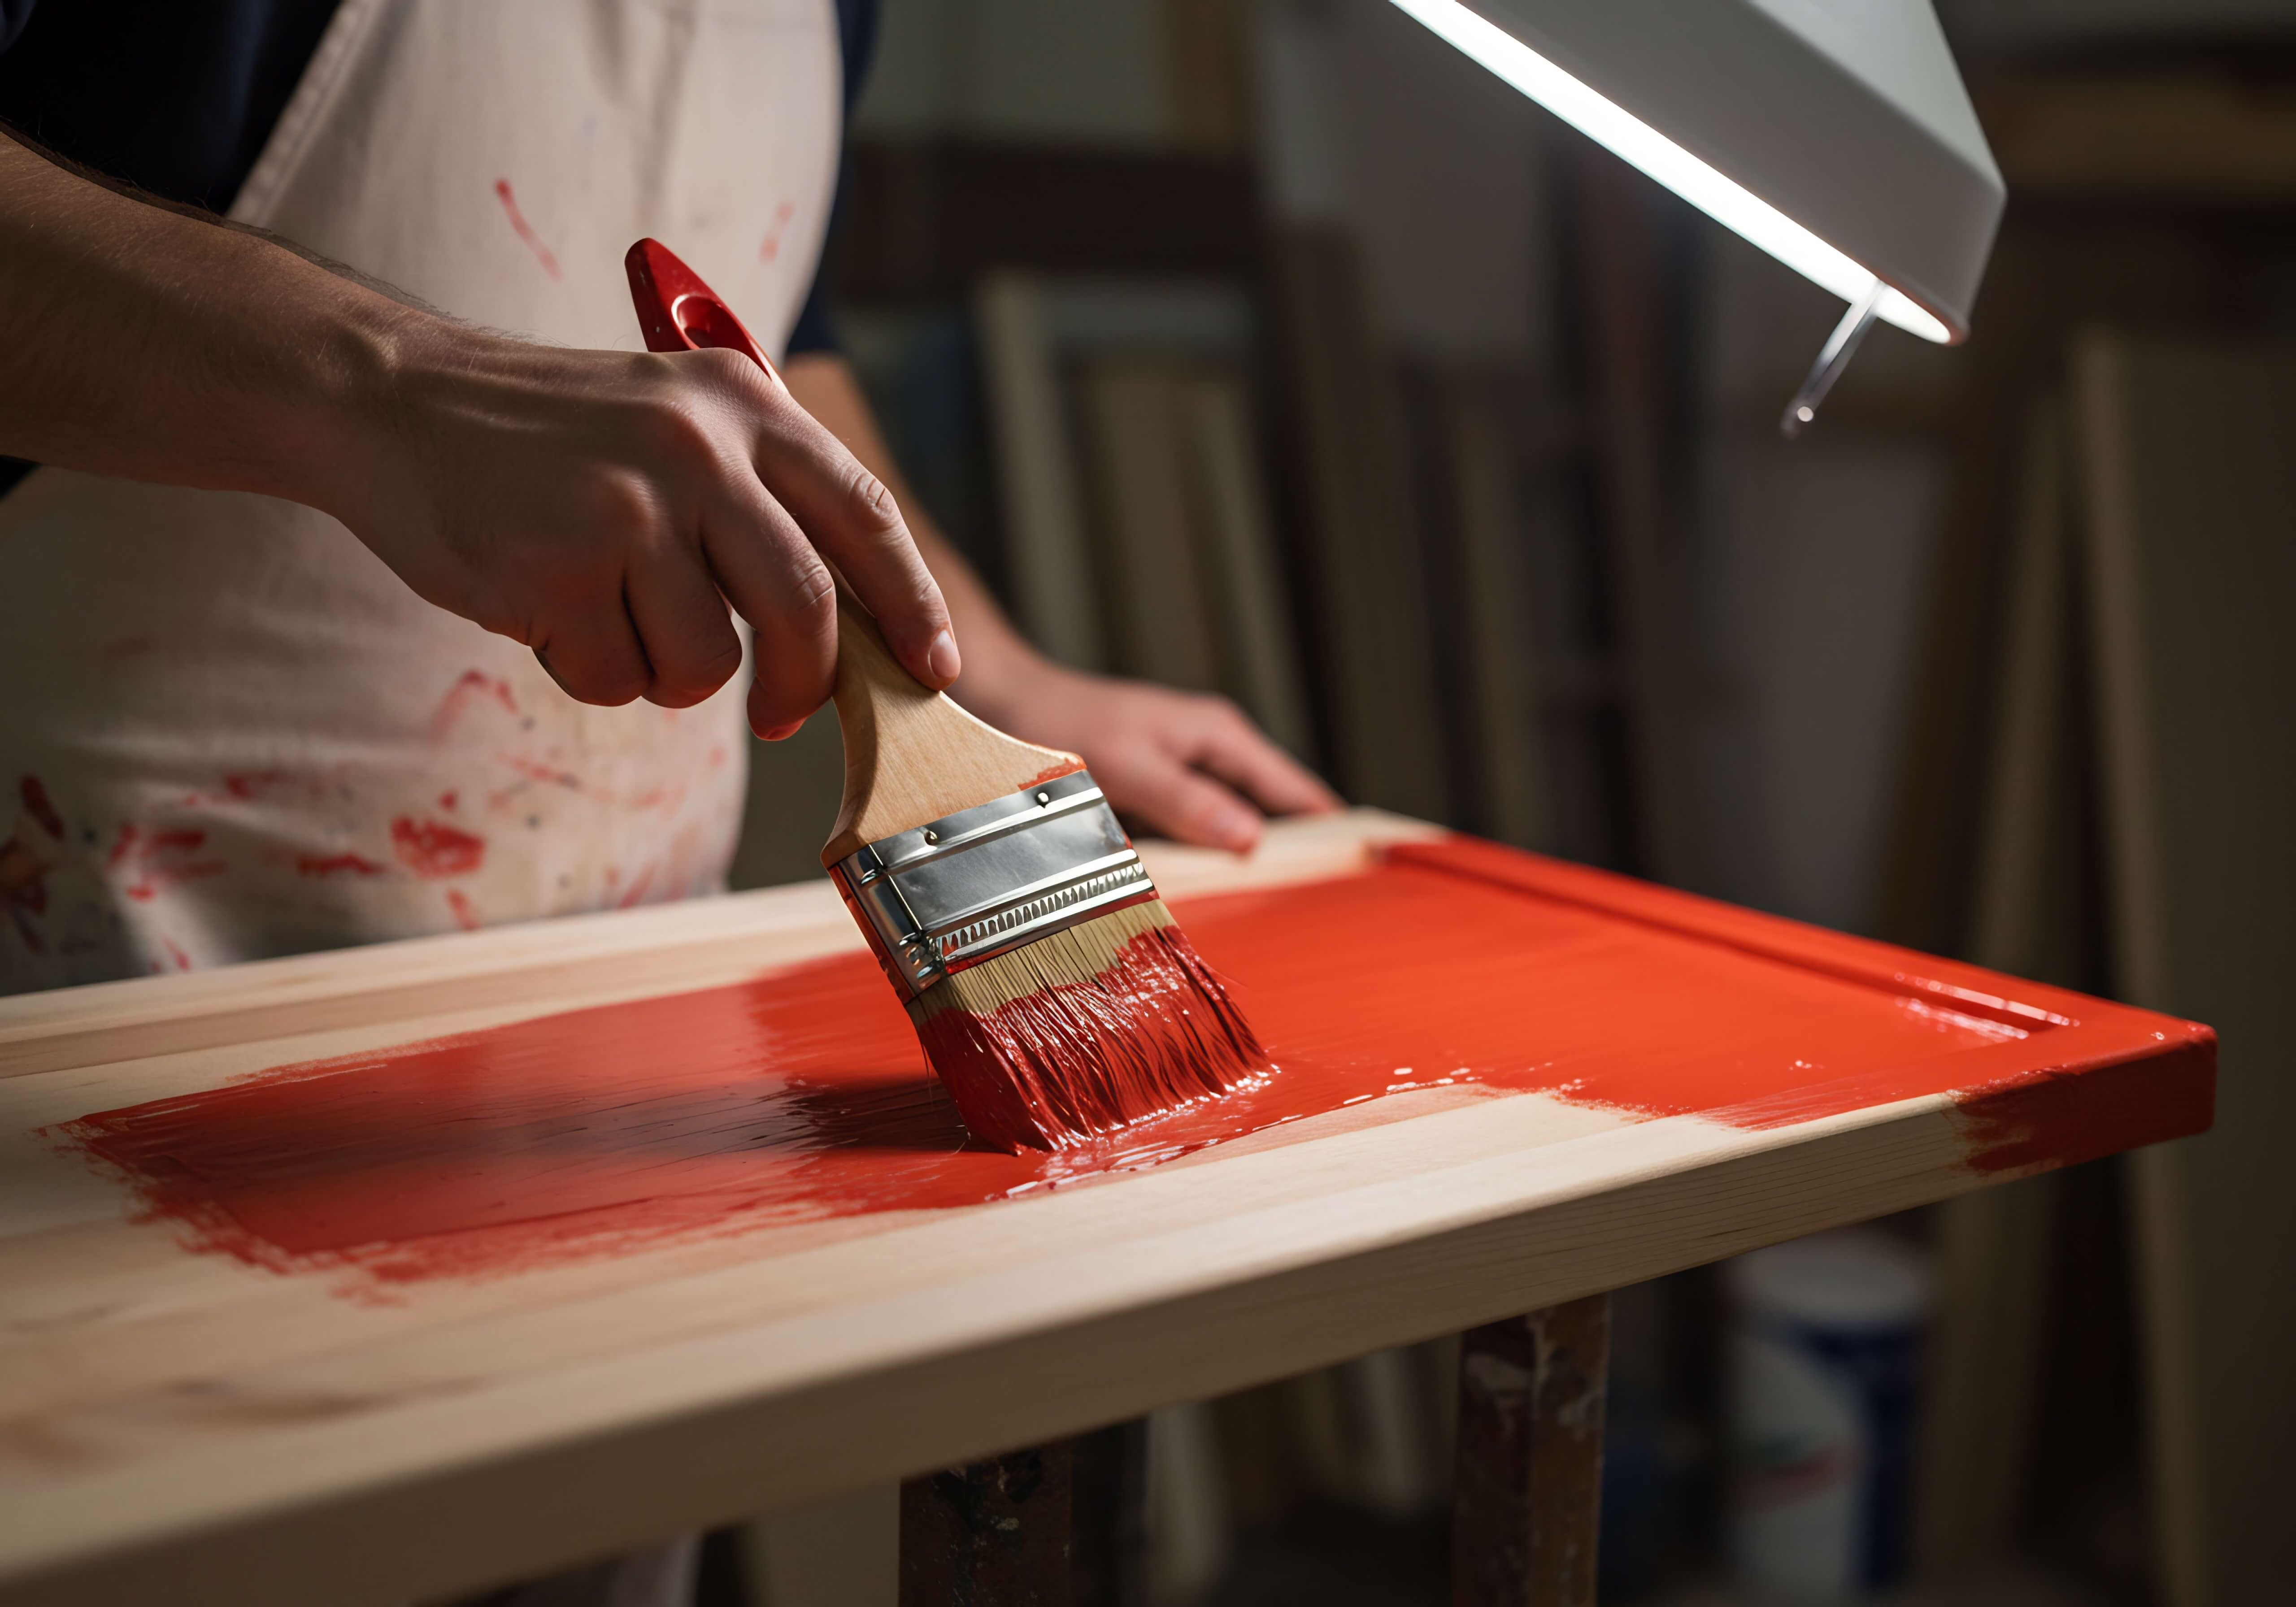
Now it’s time for the fun part: painting unfinished kitchen cabinets. Use a brush for the corners and detailed grooves, and a foam roller for the flat surfaces to avoid brush strokes. Apply a thin, even coat of paint and let it dry completely according to the manufacturer's instructions. Lightly sand between coats, then apply your second coat for a uniform, vibrant finish.
Step 5: Seal and Reinstall Cabinets
Some paints require a clear topcoat for extra durability against kitchen spills and heavy use. If your paint calls for it, apply a protective sealant. Once everything is 100% dry and cured, carefully reattach your hinges, mount the doors, and slide the drawers back into the frames.
Quick Kitchen Updates to Pair with Painted Cabinets
Complete your kitchen transformation with these quick and budget-friendly enhancements.
Upgrade Cabinet Hardware
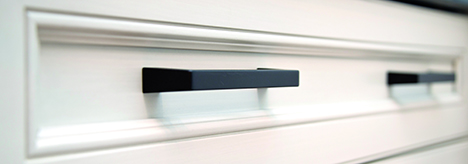
Swapping out standard knobs and pulls for new, stylish hardware instantly modernizes your kitchen. Sleek matte-black pulls or classic brushed-nickel knobs can completely change the room's vibe.
Add a New Backsplash
Installing a new tile backsplash is a quick win that perfectly complements freshly painted cabinets. A classic subway tile or a colorful mosaic adds texture and protects your walls from cooking splatters.
Refresh Countertops for a Complete Look
Pairing your custom-painted cabinets with updated countertops creates a cohesive, high-value design. Consider durable laminate or solid surface options that highlight your new cabinet color.
Tips for Choosing the Right Cabinet Style and Finish
Here are a few tips to help you choose the best cabinet style and finish for your kitchen:
- Choose a semi-gloss or satin finish for durability since they stand up to moisture and are easy to clean.
- Crisp whites and soft grays create a bright, airy atmosphere in your kitchen.
- Deep blues and forest greens offer a trendy, dramatic touch that makes a bold statement.
Start Your Kitchen Refresh with the Right Cabinets
A DIY cabinet project can feel incredibly rewarding. With unfinished wood, you can create a space that feels uniquely yours while keeping your budget in check. For more visual guides and project inspiration, be sure to visit the How-To Hub.
Explore Home Outlet’s selection of unfinished kitchen cabinets and customizable options to create the perfect look for your space.
