
Flooring Installation Checklist for Wet Areas
Posted by Home Outlet Staff on 15th Sep 2026
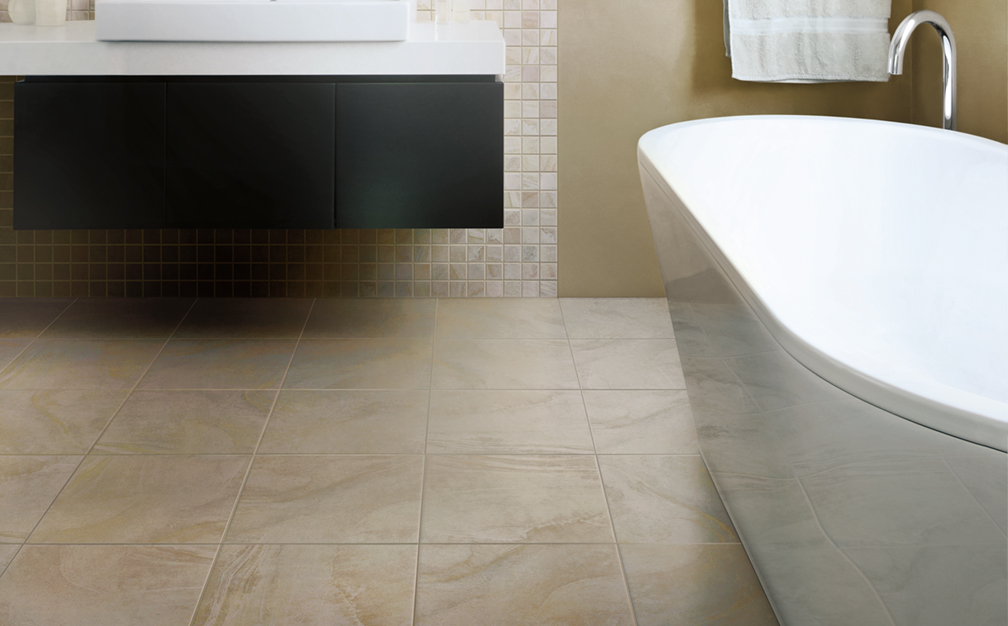 Flooring Installation Checklist for Wet Areas
Bathrooms, laundry rooms, kitchens, mudrooms, and basements all have one thing in common: water. Whether it's steam from a shower, a splashed sink, or moisture wicking up through a concrete slab, these rooms put flooring through conditions that a living room never will. Picking the right material matters, but so does everything that happens before the first plank goes down.
Here's everything you need to know before you begin your installation process.
Why Proper Preparation Matters in Wet Areas
Moisture is the number one enemy of flooring in bathrooms, kitchens, and utility rooms. Unlike dry living spaces, wet areas are constantly exposed to humidity, splashing water, and temperature fluctuations, all of which can cause water to seep beneath your floor if the installation isn't planned carefully.
The consequences aren't just cosmetic. Trapped moisture underneath the flooring creates ideal conditions for mold growth, subfloor rot, and structural damage. Some of these problems won't be visible for months, making them far more expensive to address than they would have been to prevent.
A successful installation starts with knowing your space and choosing materials and methods made to handle its everyday conditions.
Pre-Installation Checklist
Before you purchase flooring or schedule a project start date, work through each of these steps.
Inspect the Subfloor
- Identify whether your subfloor is concrete, plywood, or another approved surface.
- Look for cracks, soft spots, rot, loose panels, uneven areas, or signs of previous water damage.
- Repair any structural or moisture-related problems before proceeding. Don’t cover up existing damage.
- Confirm that the subfloor type and condition meet the flooring manufacturer's requirements.
Check for Moisture or Water Damage
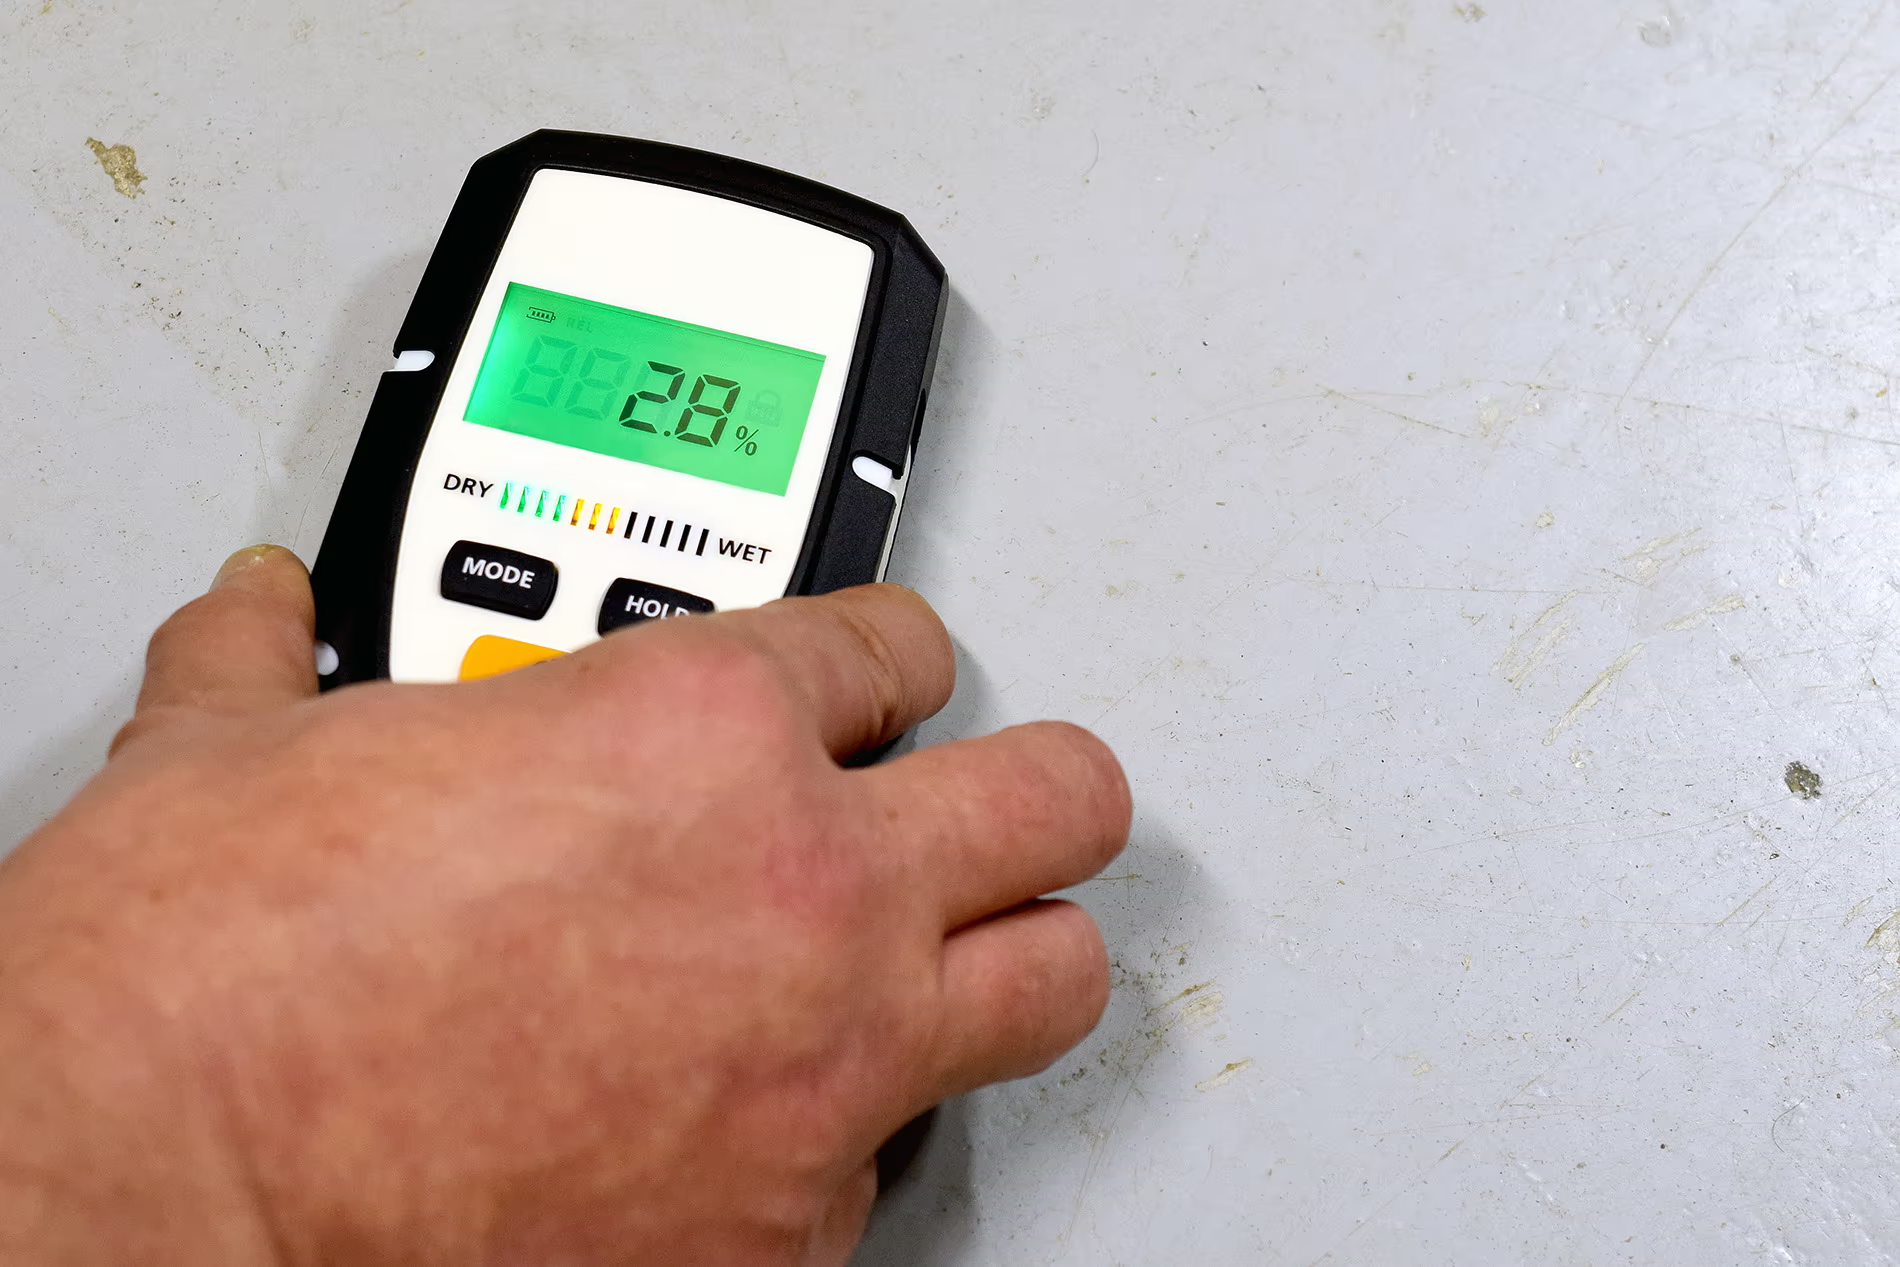
- Look for active leaks, staining, musty odors, condensation, or any other visible sign of moisture.
- Use the moisture-testing method recommended for your specific subfloor type and flooring product. Concrete and wood subfloors require different testing methods.
- Don’t install flooring over a damp subfloor, regardless of the material you've chosen.
- If you find moisture, identify and address the source before moving forward.
Ensure the Surface Is Clean, Level, and Dry
Most flooring manufacturers specify that the subfloor must be level within a certain tolerance, typically 3/16 inch over a 10-foot span, though always confirm with your product's guidelines. Low spots can cause planks to flex and click joints to separate over time. High spots create pressure points that wear the finish faster.
Once confirmed, the subfloor should be:
- Swept and vacuumed to remove all debris.
- Fully dry. Moisture readings should fall within manufacturer specifications.
- Filled and leveled using an appropriate floor-leveling compound where needed.
Gather the Right Tools and Materials
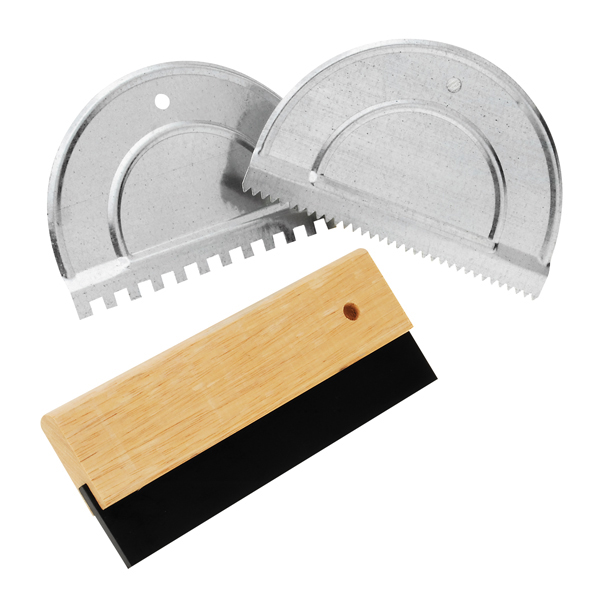
Having everything on hand before installation day keeps the project moving efficiently. For most wet-area flooring installations, you'll want to plan for:
- Moisture meter
- Floor leveling compound (if needed)
- Moisture barrier or vapor barrier (if required)
- Underlayment (if not pre-attached to planks)
- Spacers for expansion gaps
- Utility knife or flooring cutter
- Tapping block and rubber mallet
- Tape measure and square tool
- Transition strips and appropriate adhesives
Reference your specific product's installation instructions for a complete tool list before you shop.
Choosing the Right Flooring for Wet Areas
The best flooring for wet areas depends on the amount and frequency of water exposure, the subfloor type, installation location, maintenance expectations, product specifications, and budget. No single material is the right choice for every situation. The right product is the one that fits your specific room and meets the manufacturer's requirements for that environment.
Luxury Vinyl Plank (LVP)
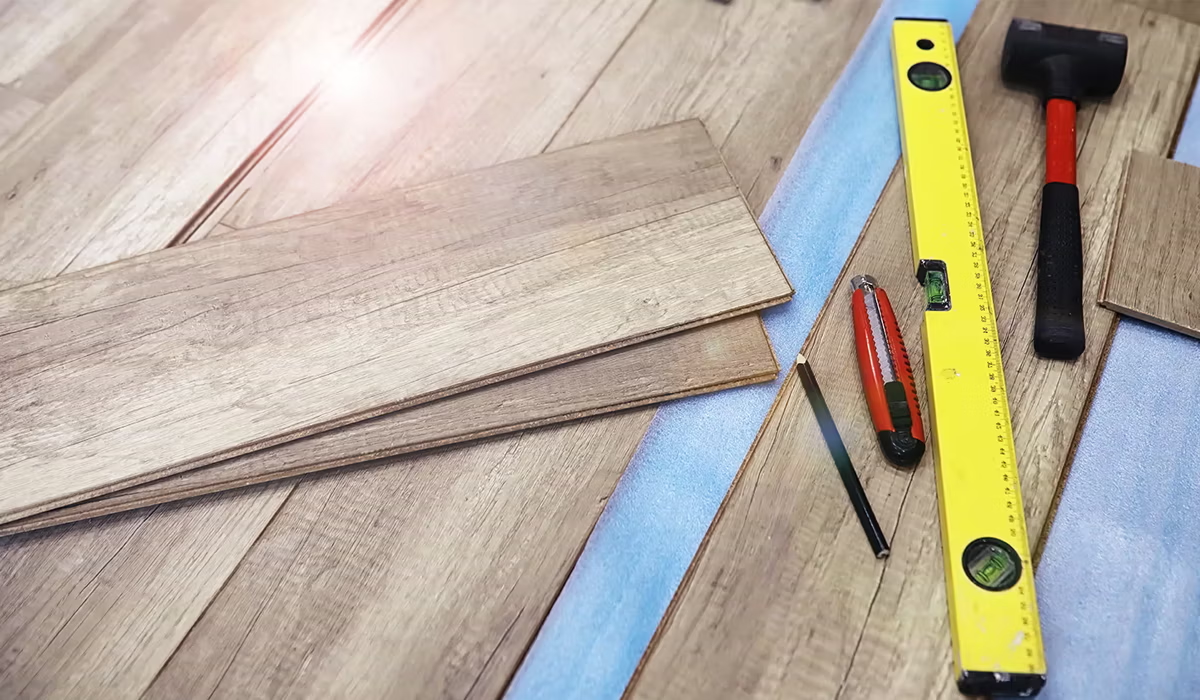
Luxury vinyl plank flooring is one of the most popular choices for wet areas, and for good reason. LVP is designed to be highly water-resistant or waterproof at the surface, so everyday spills and surface moisture won’t damage the planks themselves. It’s durable, easy to clean, comfortable underfoot, and available in dozens of styles that realistically mimic wood and stone. For bathrooms, laundry rooms, kitchens, and basements, LVP is often among the most practical and cost‑effective options.
While LVP planks are waterproof, the subfloor beneath them usually is not. Over concrete, especially on‑grade slabs and basements, a moisture or vapor barrier is typically recommended to protect the subfloor and help prevent mold and other damage, but requirements vary by product. Always follow the flooring manufacturer’s installation guidelines.
Tile
Tile is one of the most water-resistant flooring materials available and has been a go-to for bathrooms and wet rooms for decades. Properly installed tile, with well-applied grout and sealed edges, creates an extremely durable surface that withstands direct water contact.
The tradeoff is installation complexity. Tile requires a solid, rigid subfloor with no flex, careful layout planning, and proper grouting technique to prevent moisture from seeping through the joints. It's also harder underfoot than LVP and can be cold in bathrooms without radiant heat beneath it.
Laminate Considerations
Not all laminate flooring is suitable for wet areas. Some products include water-resistant construction and are approved for kitchens or other moisture-prone spaces, but traditional laminate is not designed to handle standing water or high humidity.
Before specifying laminate flooring for a wet space, verify:
- The product's water-resistance rating
- Approved room types listed by the manufacturer
- Spill-cleanup time requirements
- Perimeter sealing instructions
- Warranty terms related to moisture damage
When in doubt, check the manufacturer's documentation. A laminate product that works well in a kitchen may not be appropriate for a bathroom or laundry room.
How to Choose Between Flooring Materials
Use these factors to guide your decision:
- Choose LVP for waterproof performance, a comfortable surface, and straightforward DIY installation. It’s best for bathrooms, kitchens, laundry rooms, and basements.
- Choose tile when you want maximum water resistance and durability, and you're working with a rigid subfloor. Ideal for showers, full bathrooms, and mudrooms.
- Choose water-resistant laminate only for low-moisture spaces, such as a kitchen away from the sink, and confirm the product is rated for that use case before purchasing.
Waterproofing and Installation Considerations
Selecting a water-resistant flooring material doesn't eliminate the need for additional moisture management. Here are the planning considerations specific to wet-area installations.
Moisture Barriers
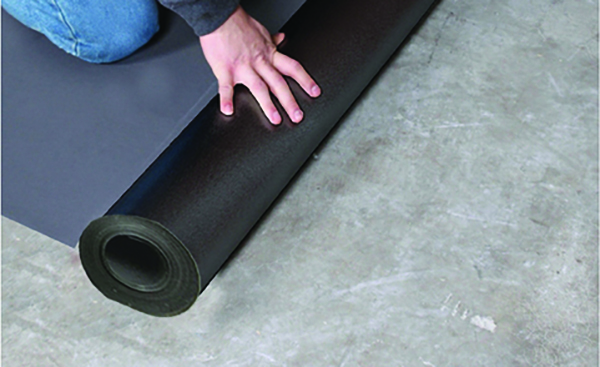
A moisture barrier (also called a vapor barrier) is a layer installed between the subfloor and the flooring to block moisture from traveling upward. Whether you need one depends on your subfloor type, the flooring product you've chosen, and the moisture level in your space.
Over concrete, which is naturally porous and can transmit ground moisture upward, a moisture barrier is commonly recommended for LVP installations, even when the LVP itself is waterproof. Some LVP products include a pre-attached underlayment with a built-in vapor barrier. Others require a separate layer. Always check your manufacturer's specifications before skipping this step.
Expansion Gaps
Floating floors expand and contract as temperature and humidity change. Without adequate clearance at the perimeter and transition points, that movement has nowhere to go, and the floor can buckle.
Follow the manufacturer's required expansion gap measurements for your product. Do not use a universal number from a general guide; gap requirements vary by product and installation conditions.
Manufacturer Installation Guidelines
Every flooring product comes with specific installation requirements. Following them is typically required to keep your warranty valid. Before installation day, confirm:
- Required subfloor flatness tolerances
- Moisture barrier specifications for your subfloor type
- Acclimation requirements (time and temperature conditions)
- Approved adhesives or underlayment products
- Recommended expansion gap dimensions
If you're not sure where to find this information, Home Outlet's knowledgeable store representatives can help you locate the right specs for any product in our selection.
Radiant Heat Compatibility
If your space has radiant floor heating, confirm that both the flooring product and the installation system are approved for use over radiant heat before you purchase anything. Not all flooring materials are compatible, and those that are may have specific temperature limits and startup procedures. Check the manufacturer's documentation for your specific product.
Common Mistakes to Avoid
Even well-planned installations can go sideways when a few key steps are skipped. Here are the most common mistakes homeowners and contractors make in wet-area flooring projects.
- Installing over a damp subfloor: Moisture trapped beneath the flooring can lead to mold, odors, and structural damage. Always complete moisture testing and allow adequate drying time before installation begins.
- Skipping acclimation: Some products, particularly LVP, need time in the installation environment before they go down. Check your manufacturer's guidelines. Skipping this step can lead to expansion and buckling after installation.
- Choosing the wrong flooring material for the space: Standard laminate in a bathroom, for example, is a recipe for failure. Match the product to the space's moisture level, not just the aesthetic you want.
- Forgetting expansion gaps: This is one of the most frequently skipped steps, and one of the most costly to fix. Buckling floors and cracked grout are common outcomes of installations where proper gaps weren't maintained.
- Ignoring manufacturer installation guidelines: Every product is different. Using a non-approved underlayment or adhesive, or skipping a recommended vapor barrier, can void your warranty and compromise the installation.
Prepare for Your Flooring Project With Home Outlet
A successful flooring installation in a wet area comes down to three things: choosing a material that's appropriate for the room, preparing the subfloor correctly, and following the manufacturer's requirements from start to finish. Each step builds on the last.
Home Outlet carries a wide selection of flooring built for moisture-prone spaces, including luxury vinyl plank, tile, and laminate, at the Guaranteed Lowest Price. When you're ready to install, our vinyl plank installation guide walks you through the full process step by step.
Find Flooring Built for Wet Areas
Explore Home Outlet's flooring options to compare materials, durability, and styles before you begin your installation.
Frequently Asked Questions
What flooring is best for wet areas?
Luxury vinyl plank and tile are popular choices for moisture-prone rooms because they’re durable and easy to maintain. The best option depends on the room, the amount of water exposure, and the product’s approved uses.
Do you need a moisture barrier under vinyl plank flooring?
You may need a moisture barrier under vinyl plank flooring, depending on the product, subfloor, and installation location. Check the manufacturer’s instructions to confirm whether a separate barrier is required or whether the flooring already includes attached underlayment.
Can laminate flooring be installed in bathrooms?
Yes, but only if the laminate is specifically approved for bathrooms or moisture-prone spaces. Check the product’s water-resistance rating, approved room types, and warranty before buying.
Should flooring acclimate before installation?
Acclimation requirements vary by product. Review the manufacturer’s instructions and follow the recommended timeline and conditions when needed.
How do I know if my subfloor is ready for installation?
Your subfloor should be clean, dry, structurally sound, and flat enough to meet the flooring manufacturer’s requirements. Repair any moisture damage, soft spots, rot, or uneven areas before installation.
